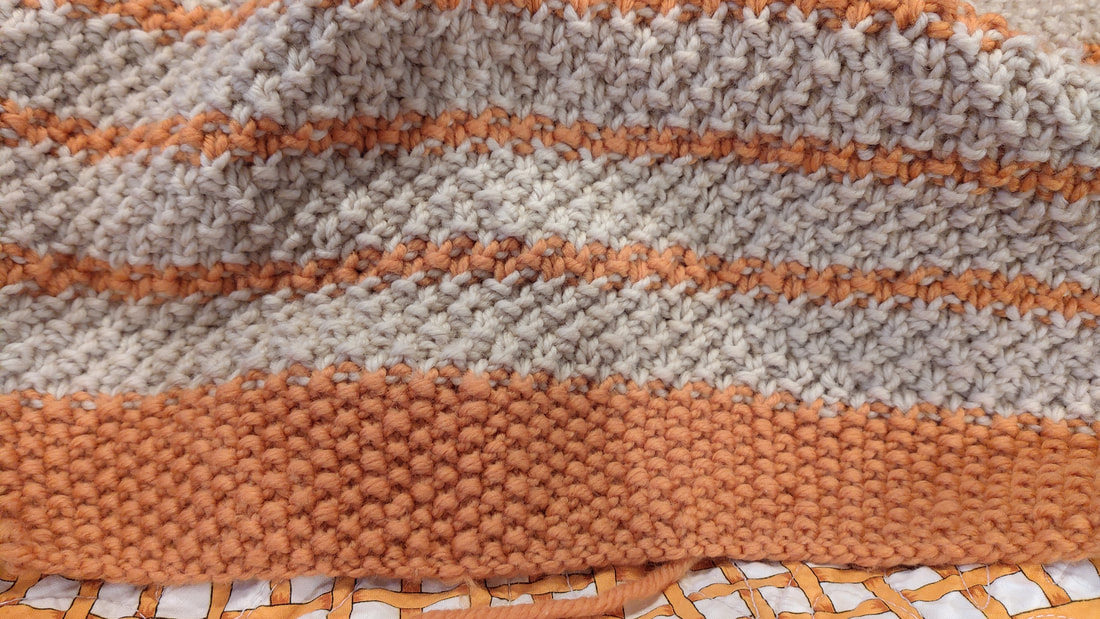
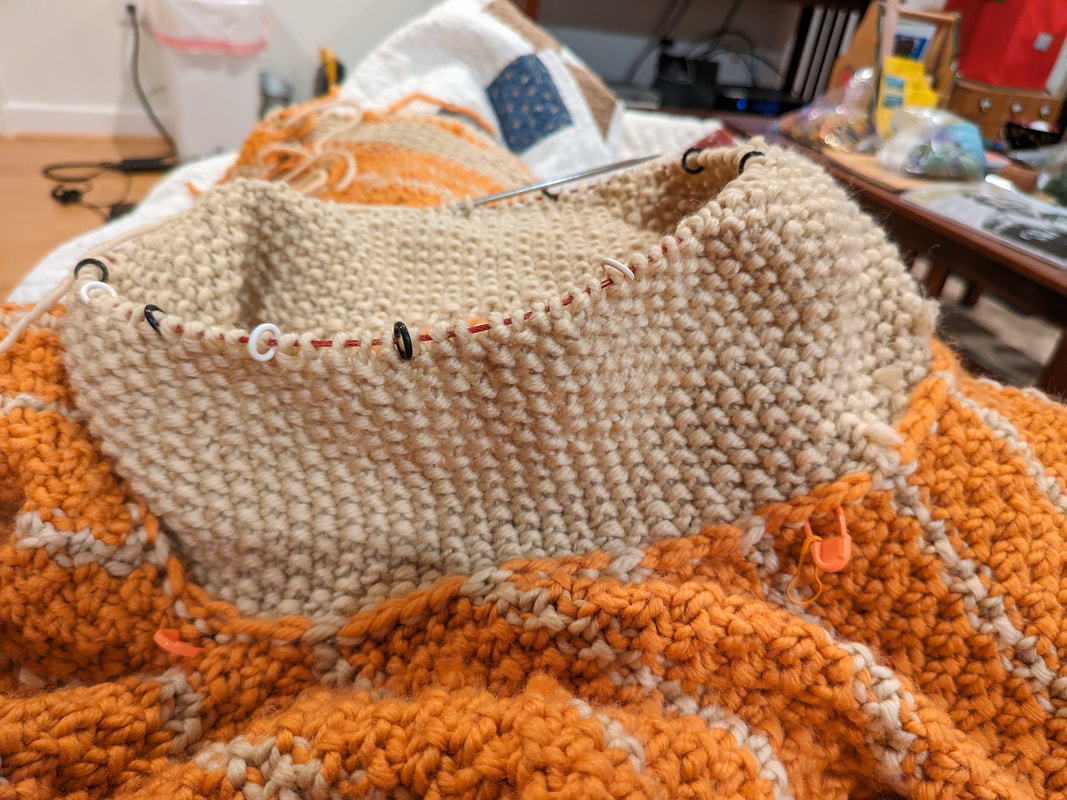
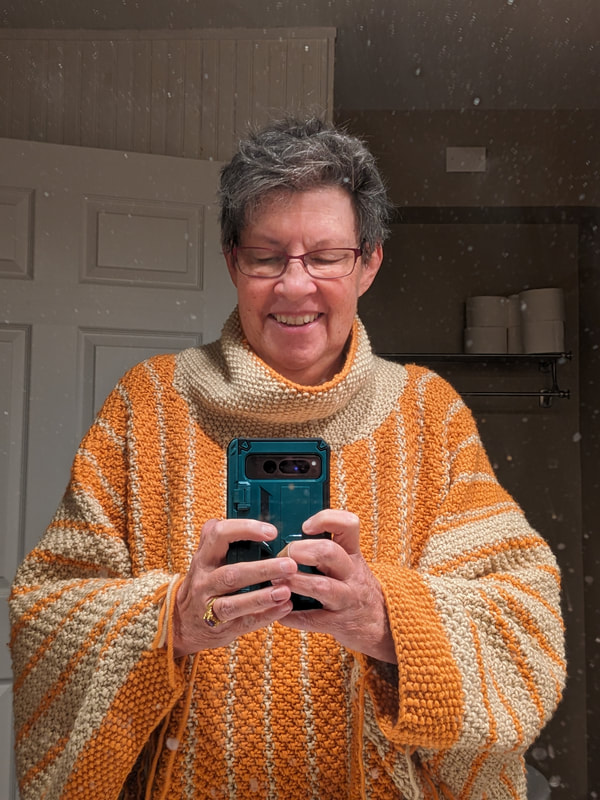
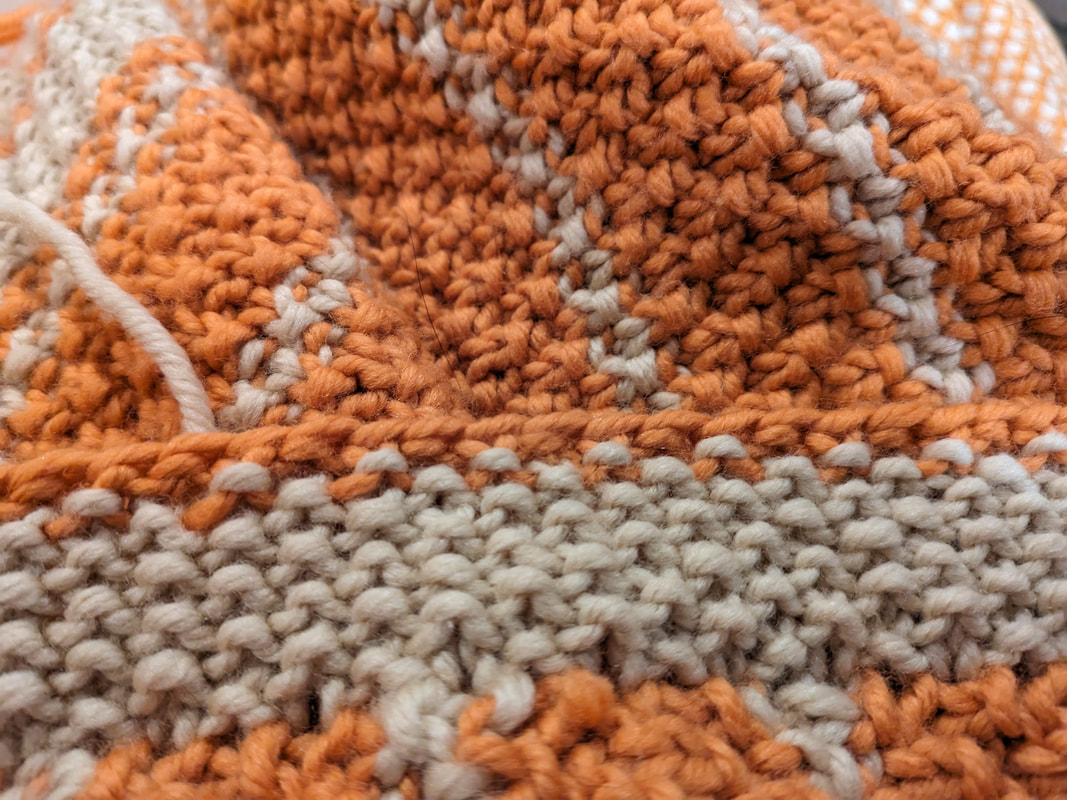
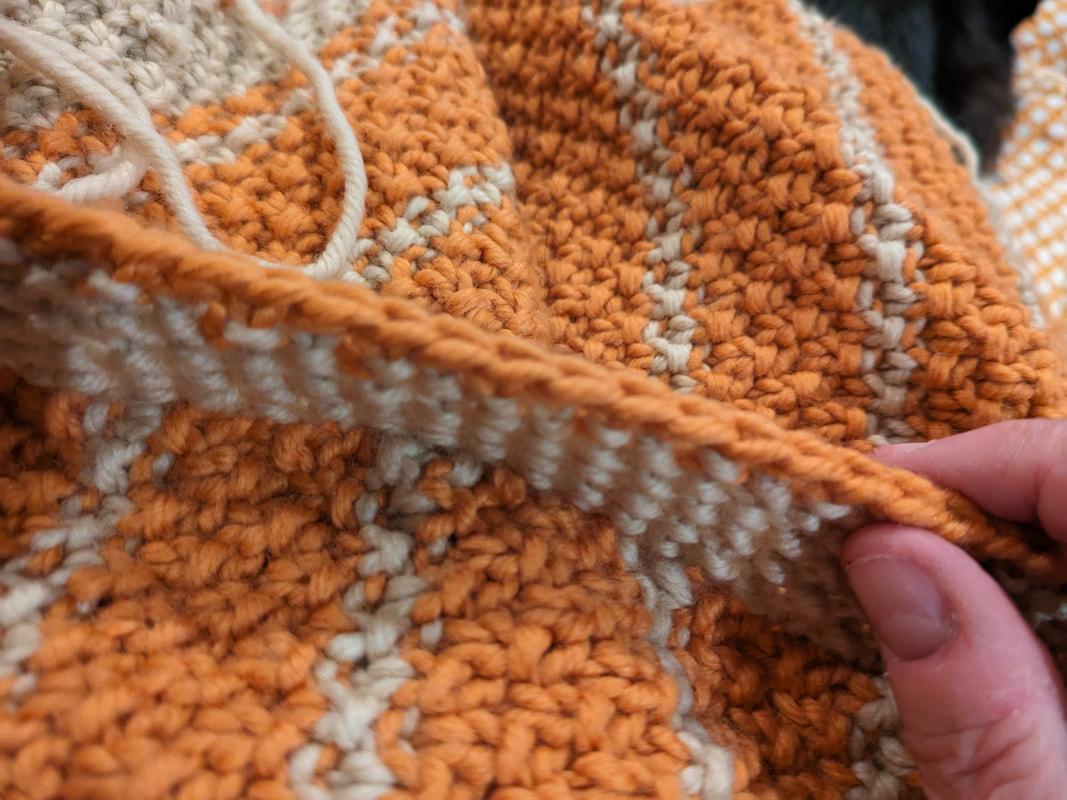
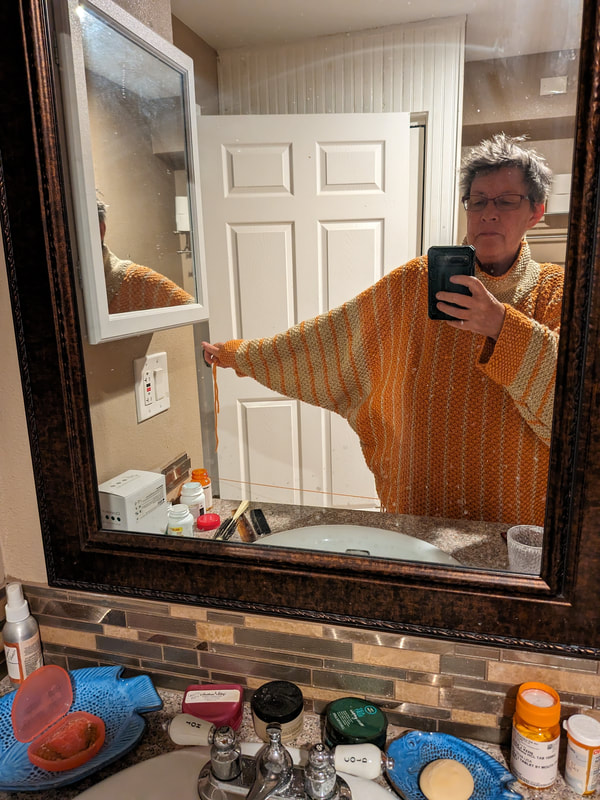
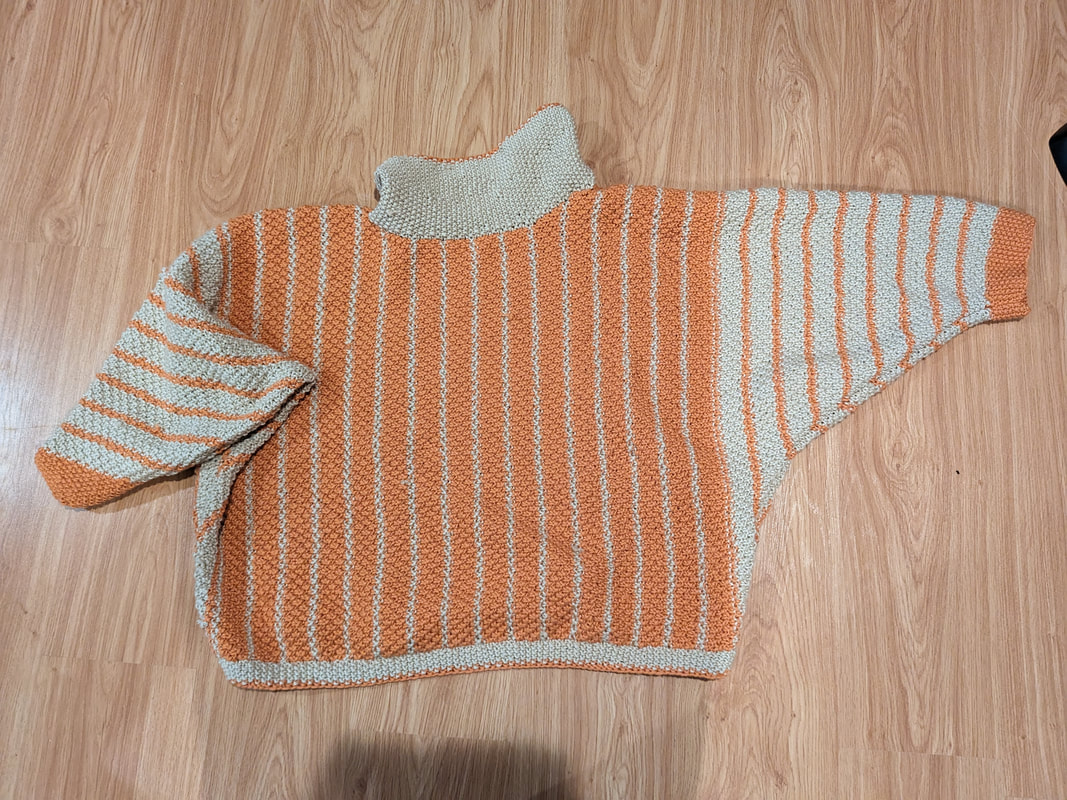
Despite finishing the Big Snuggly Sweater over Thanksgiving week, things since mid-November have/had been a real downer for me.
As December started I felt the same way.
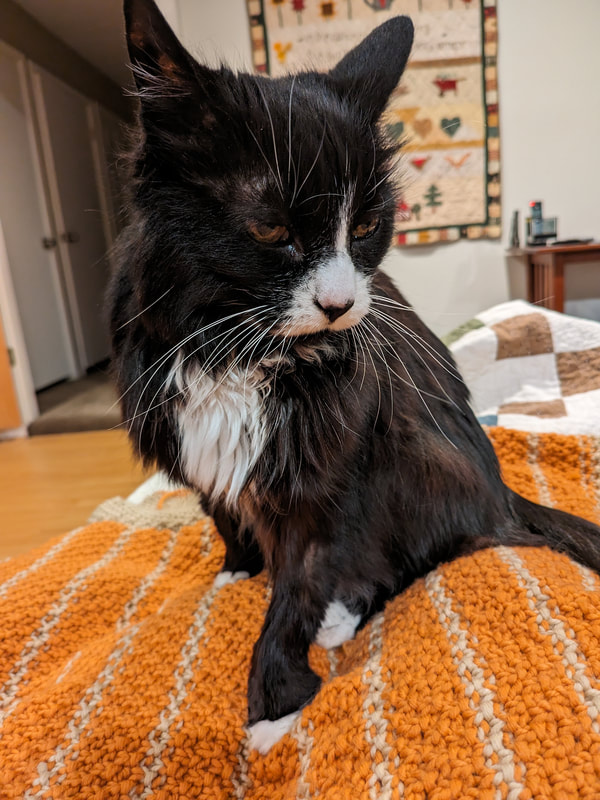
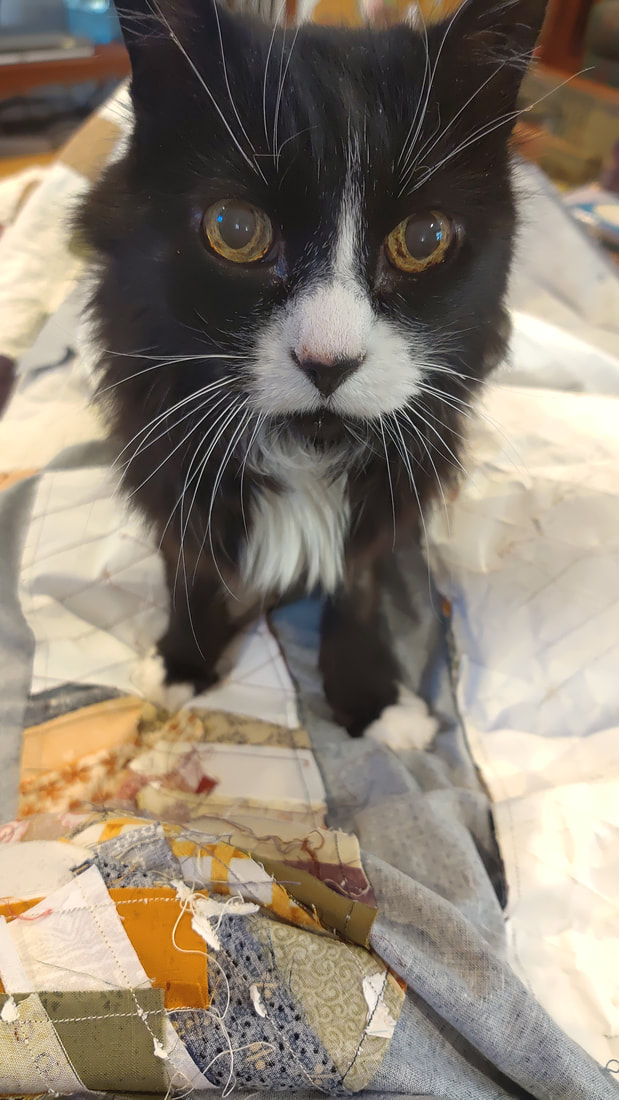
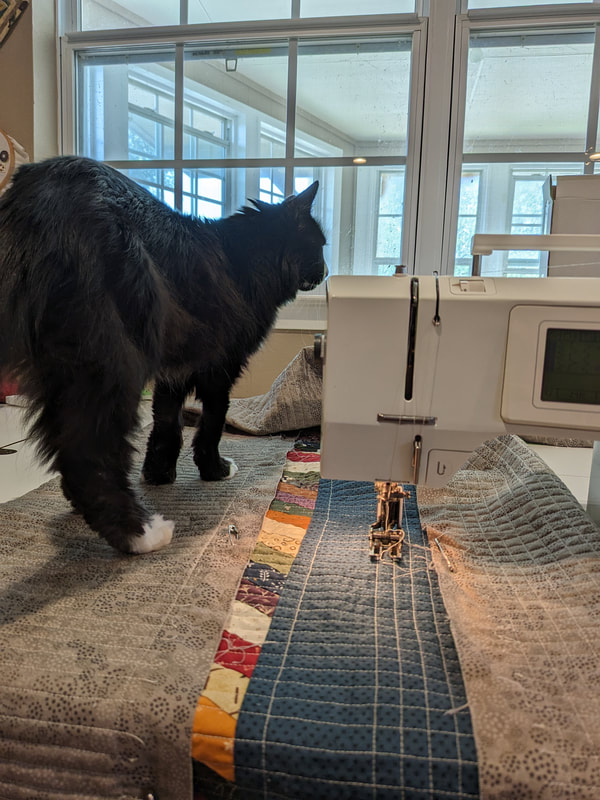
There's still the loom room and my studio to clean and reorganize PLUS there is Erich's workshop to tackle. Of course there is also the standard stuff to do around the house - cooking, cleaning, laundry, grocery shopping, and getting out of bed because a certain cat wants to be fed.
Then last week, I got an email from the Lawyer that things are moving forward, finally, with Erich's estate and was as if a 1,000 weight had been lifted off my brain. Suddenly
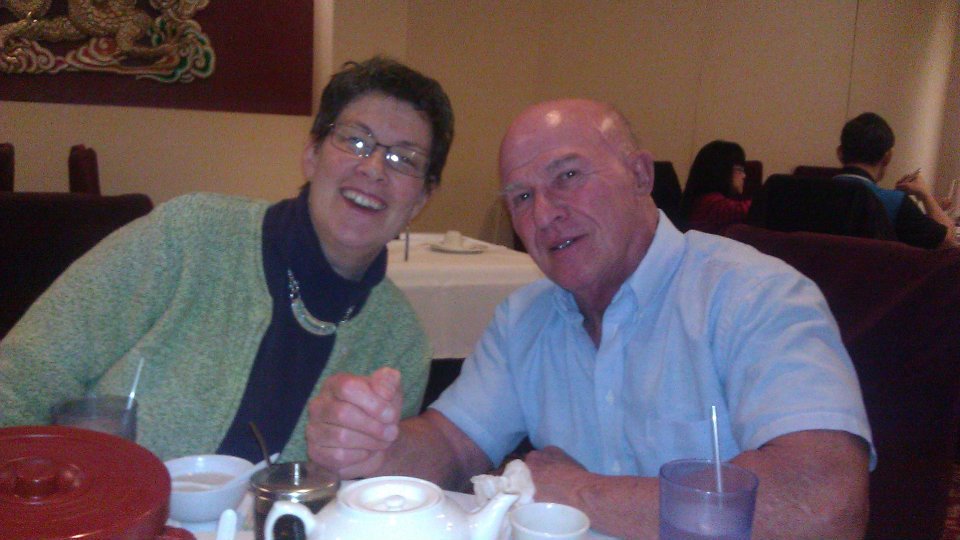
- First there was Erich's Birthday.
- Then there was what would have been our 35th anniversary's
- Add to that Thanksgiving which we usually just have a nice meal and spend the day together watching movies.
- And to round out the month was my birthday.
As December started I felt the same way.
There's still the loom room and my studio to clean and reorganize PLUS there is Erich's workshop to tackle. Of course there is also the standard stuff to do around the house - cooking, cleaning, laundry, grocery shopping, and getting out of bed because a certain cat wants to be fed.
Then last week, I got an email from the Lawyer that things are moving forward, finally, with Erich's estate and was as if a 1,000 weight had been lifted off my brain. Suddenly


 RSS Feed