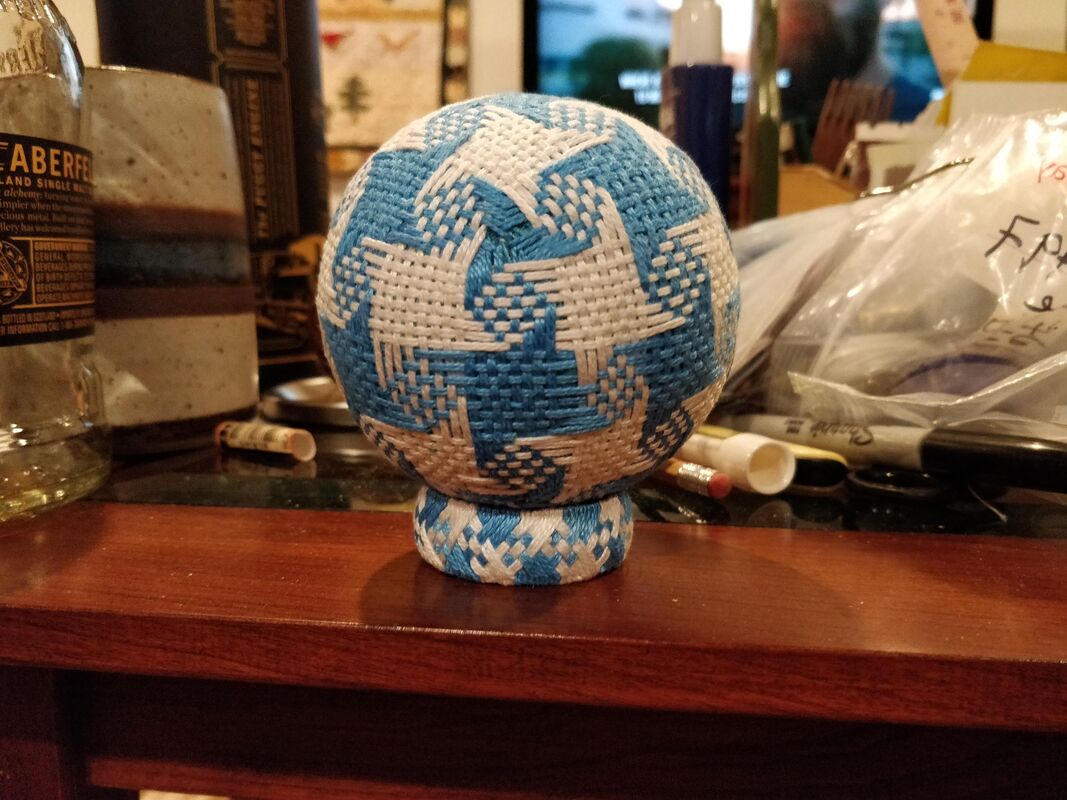
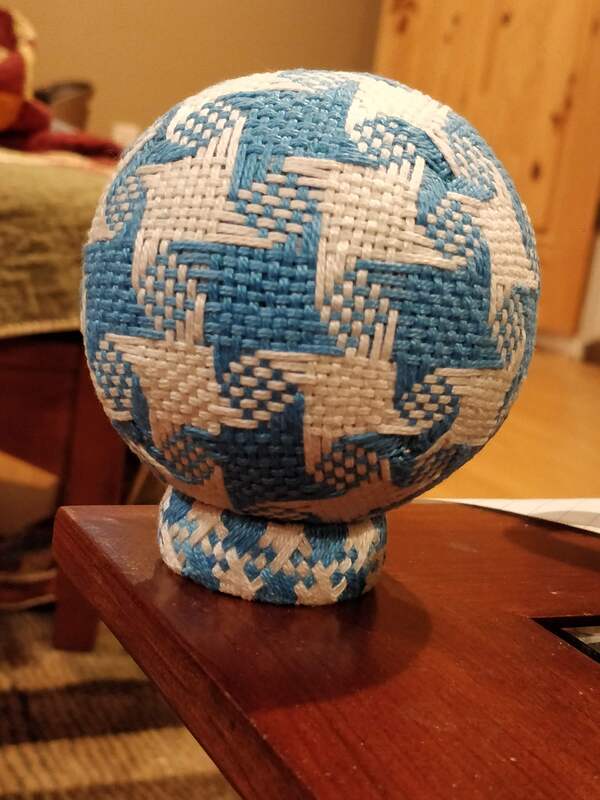
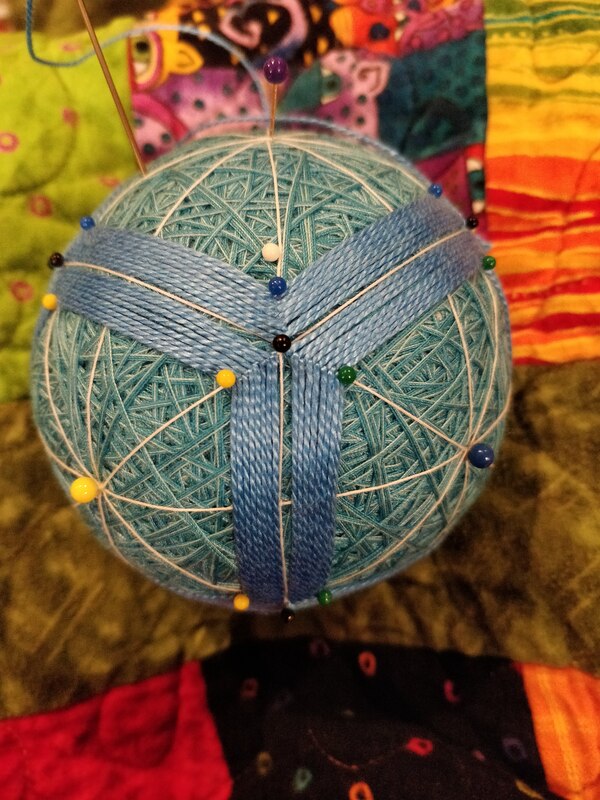
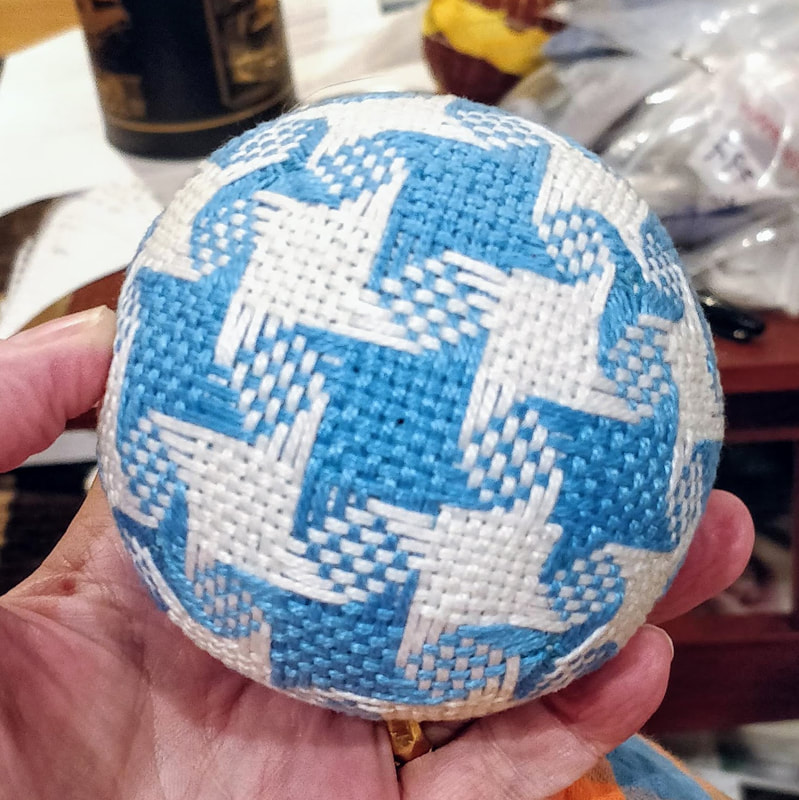
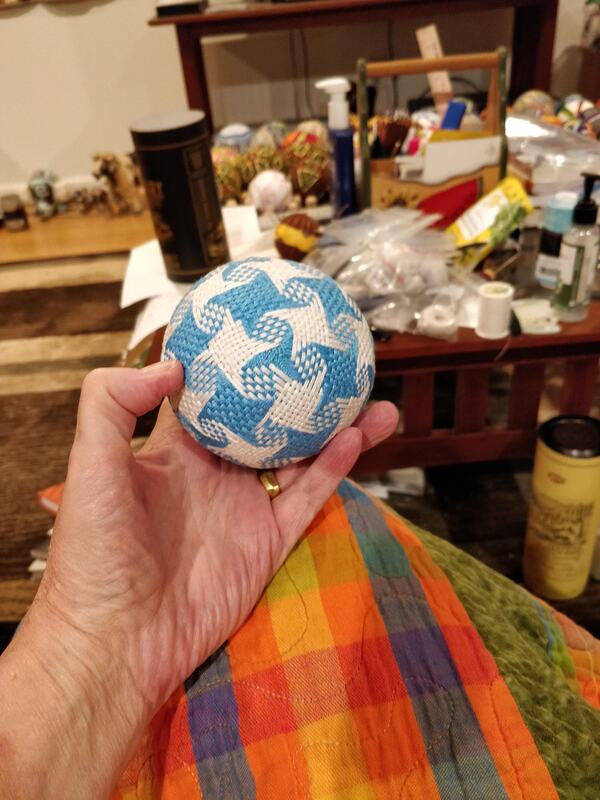
In my prior post I made a Ninja Star temari. I decided to make a yubinuki ring stand for it instead using a plexiglass ring stand like those use to display stone spheres and eggs.
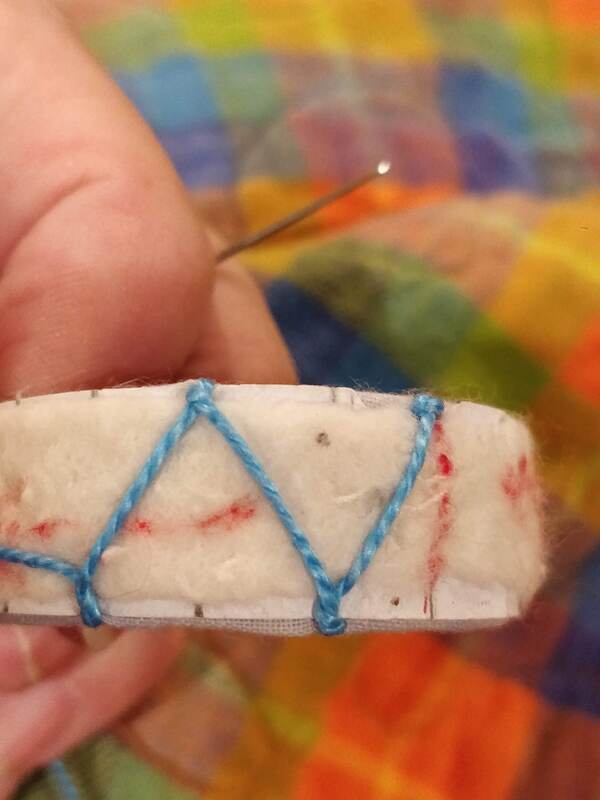
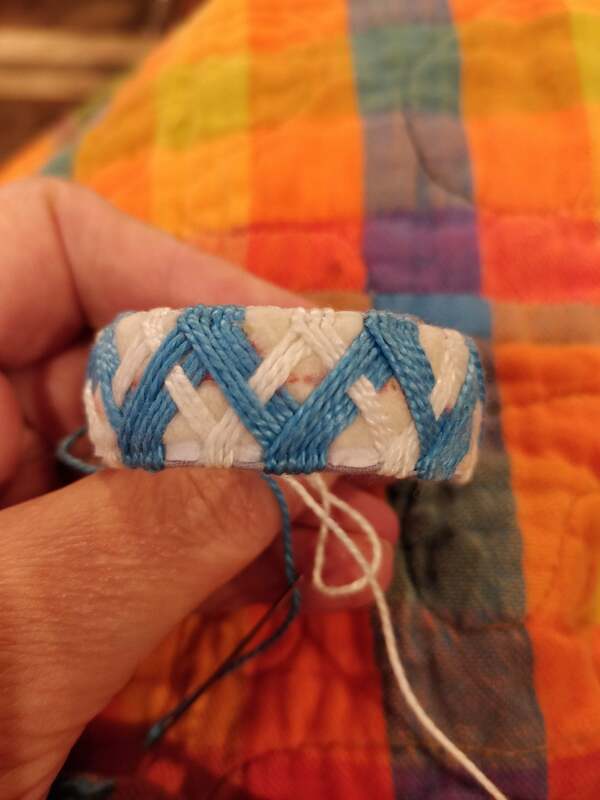
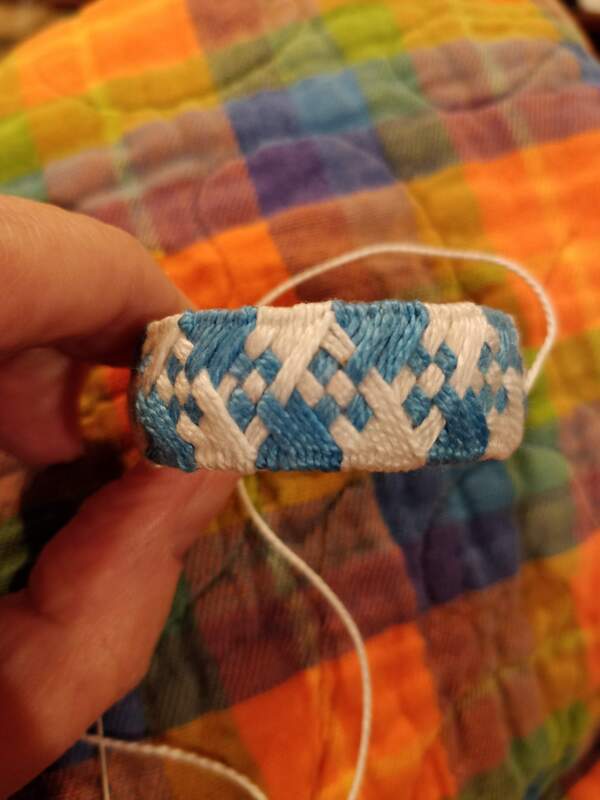
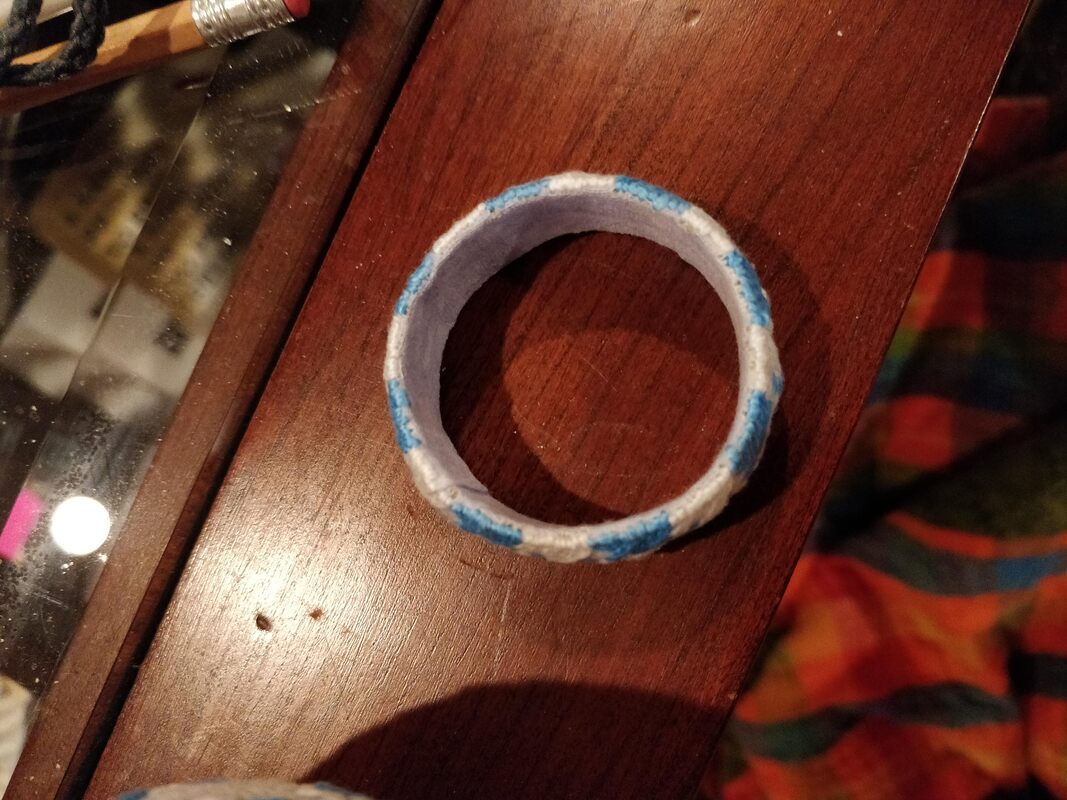
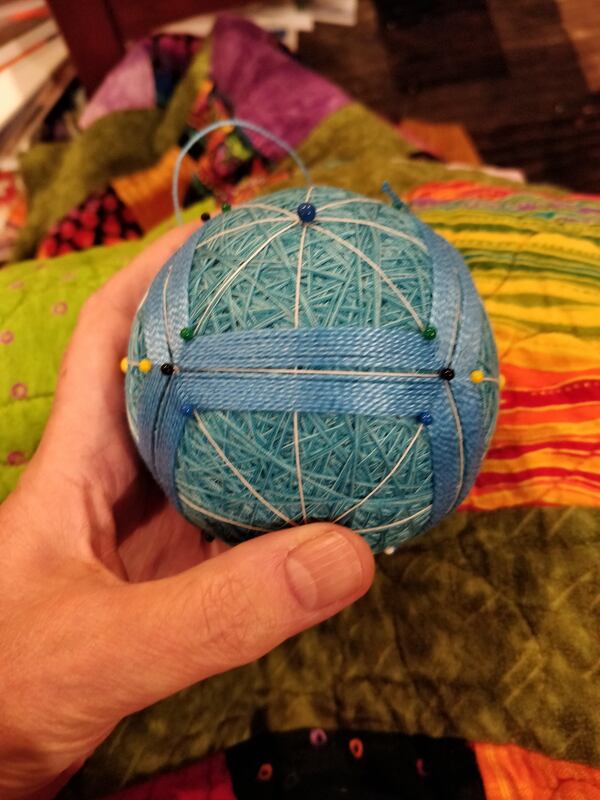
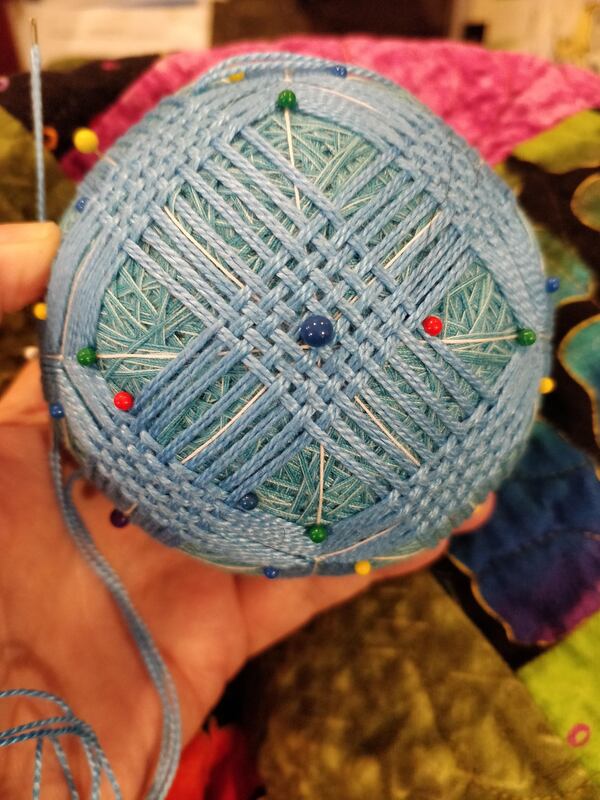
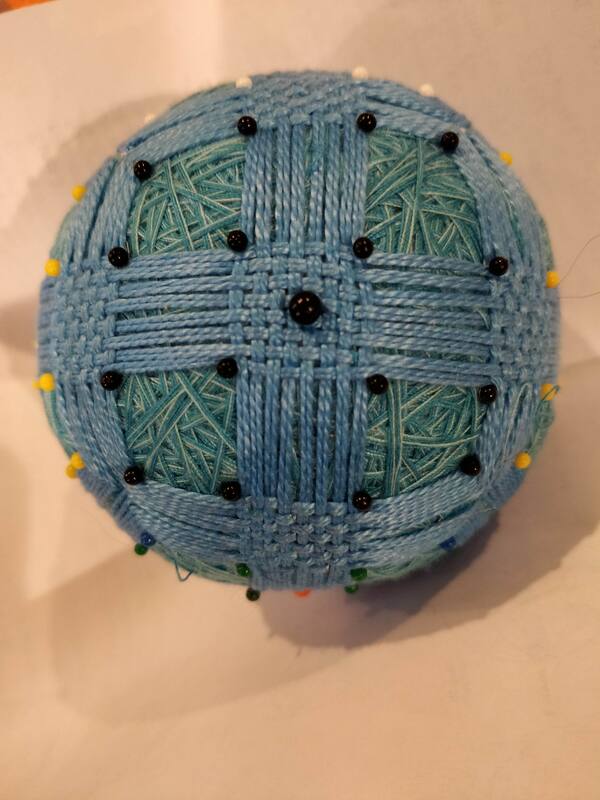
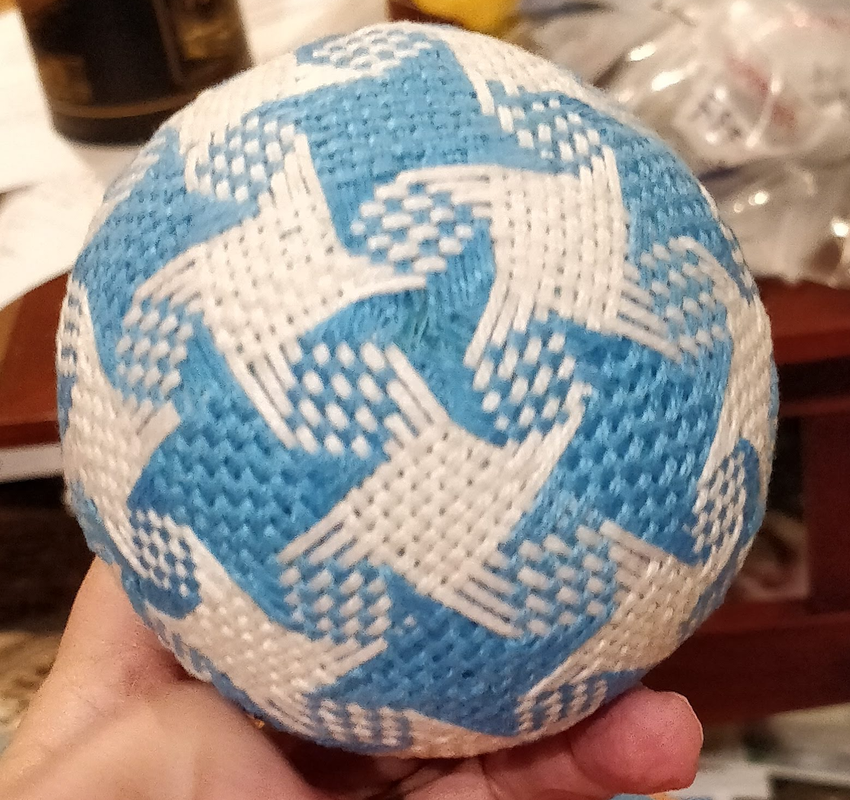
For this core, I used part of a card board tube (the core of a toilet paper roll) and cotton quilt batting. The design would be the same colors as the temari and have a small woven section so the ring base is similar but not the same as the temari.
For this core, I used part of a card board tube (the core of a toilet paper roll) and cotton quilt batting. The design would be the same colors as the temari and have a small woven section so the ring base is similar but not the same as the temari.


 RSS Feed