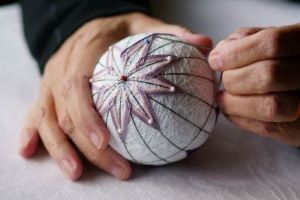
On December 10th, I took a Temari workshop from Nicola of The Twisted Thread. Nicola is (also) working on her Temari certification(s) and has completed the Honka (Level 1) and Koutouka (Level 2) work and is currently working on the Shihan (Level 3) Certification which qualifies you as a teacher in Japan; you do not need this level to teach elsewhere in the world.
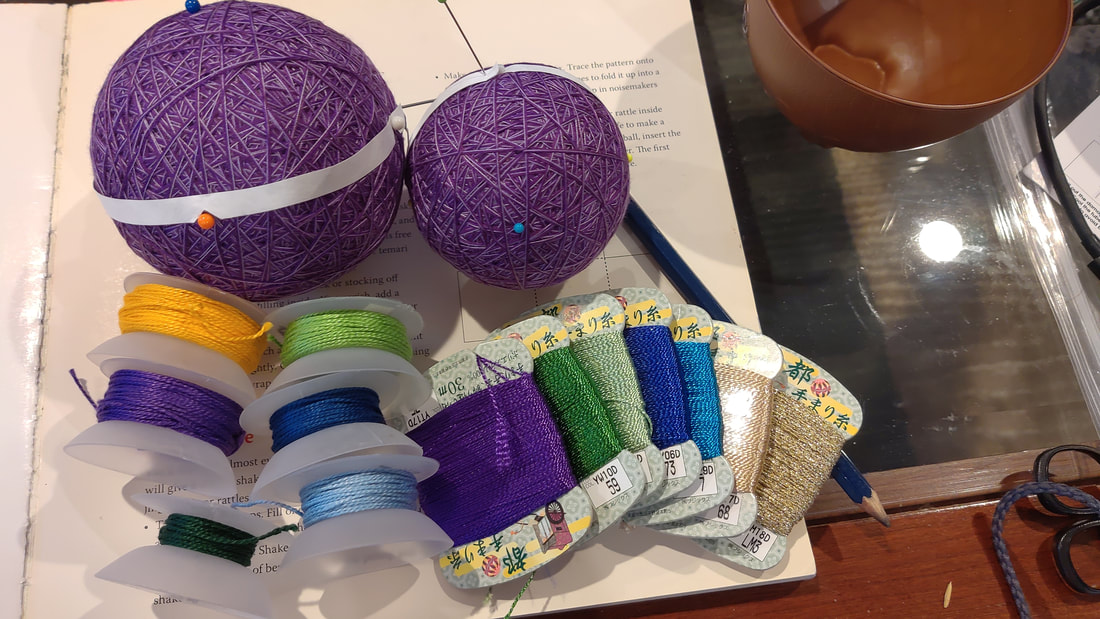
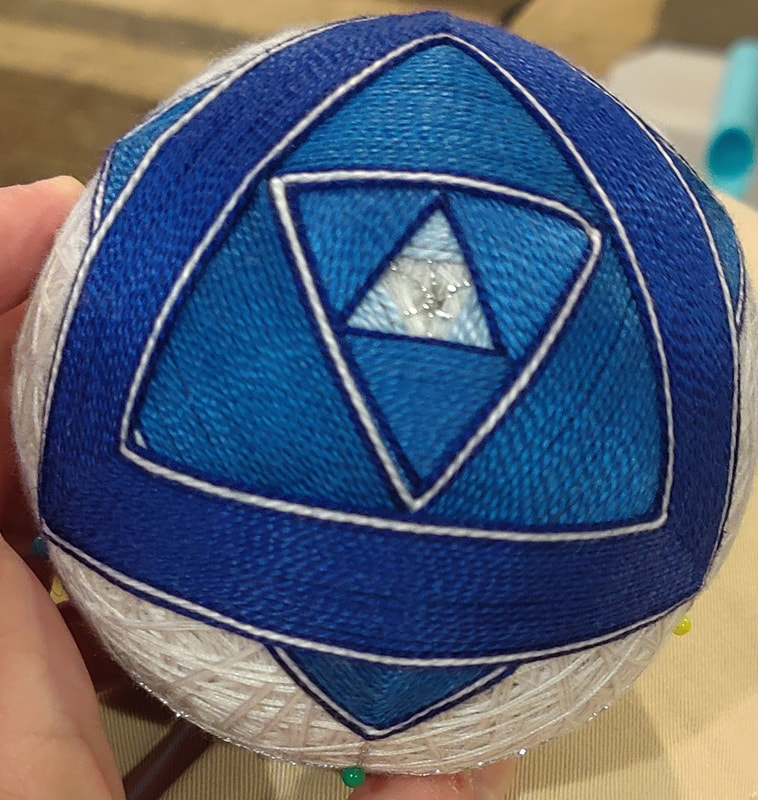
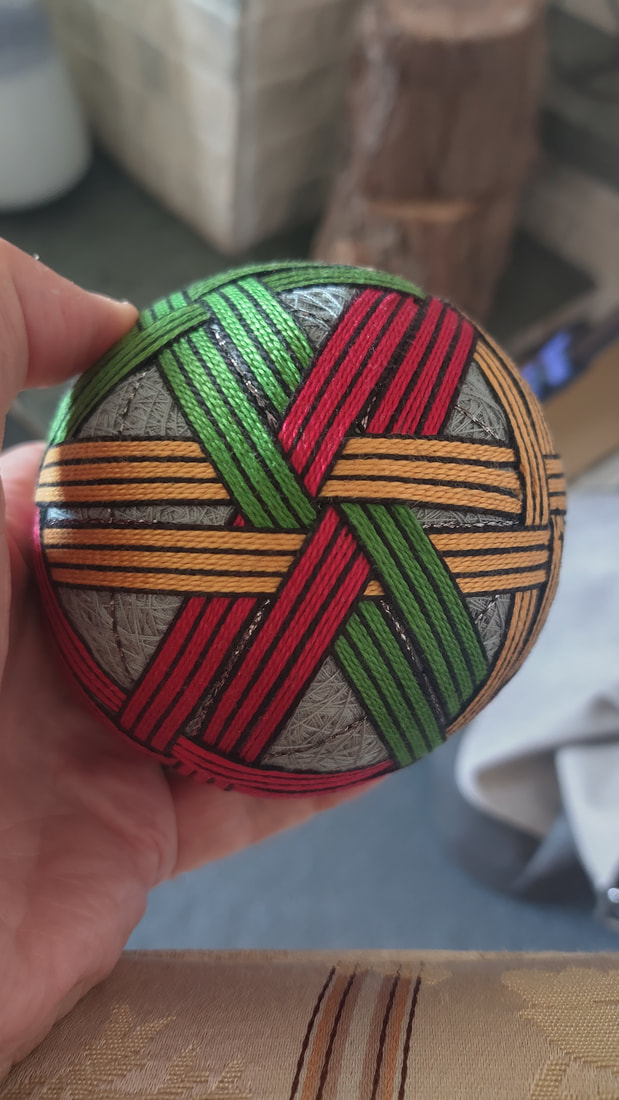
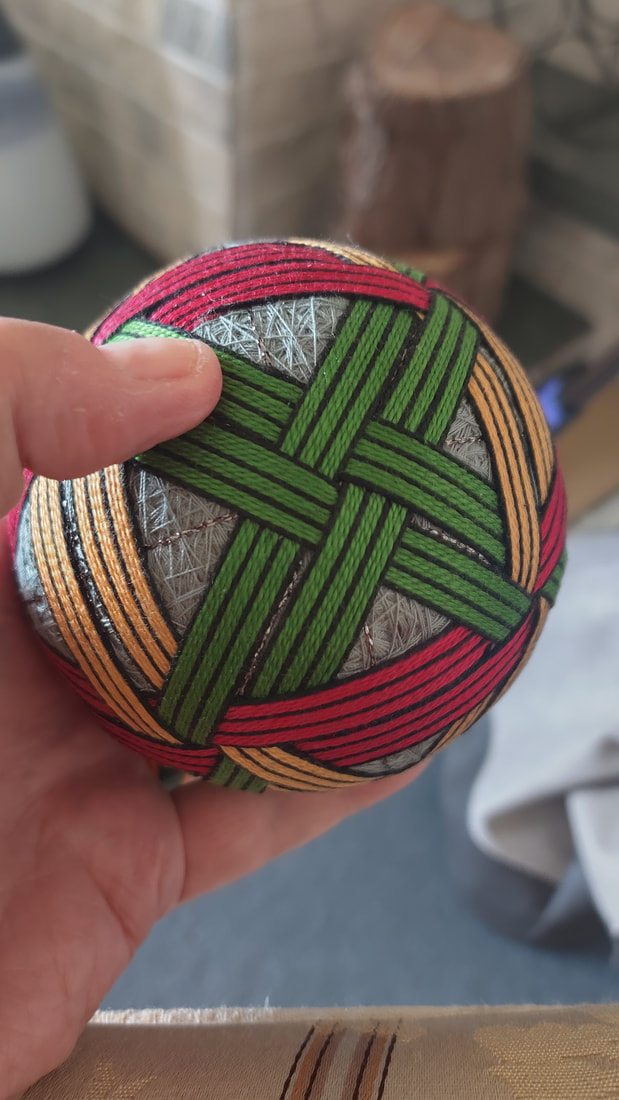
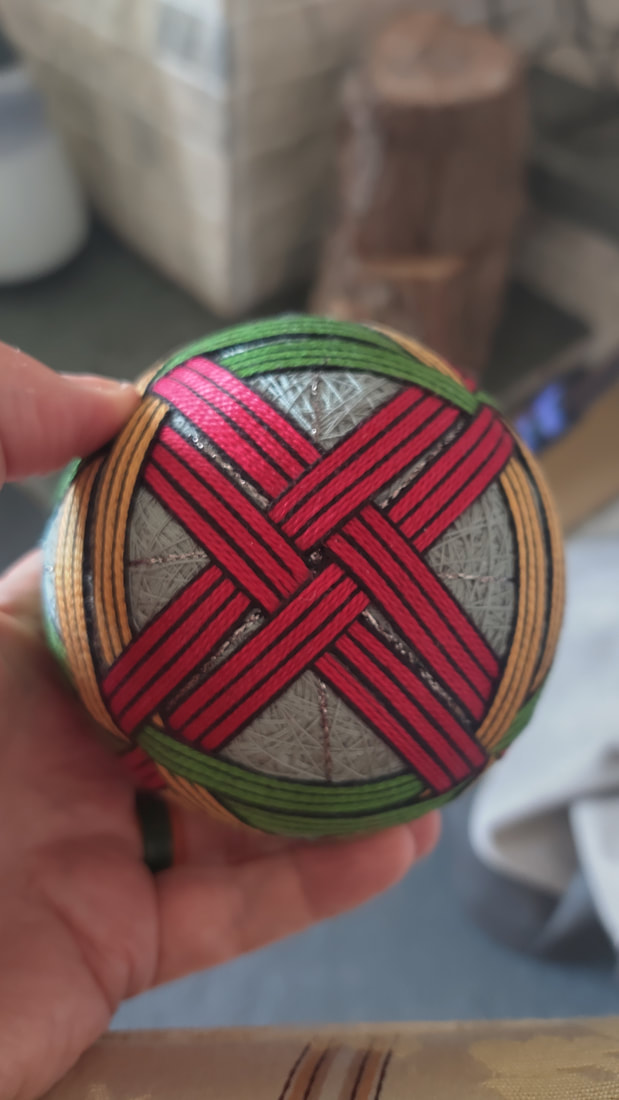
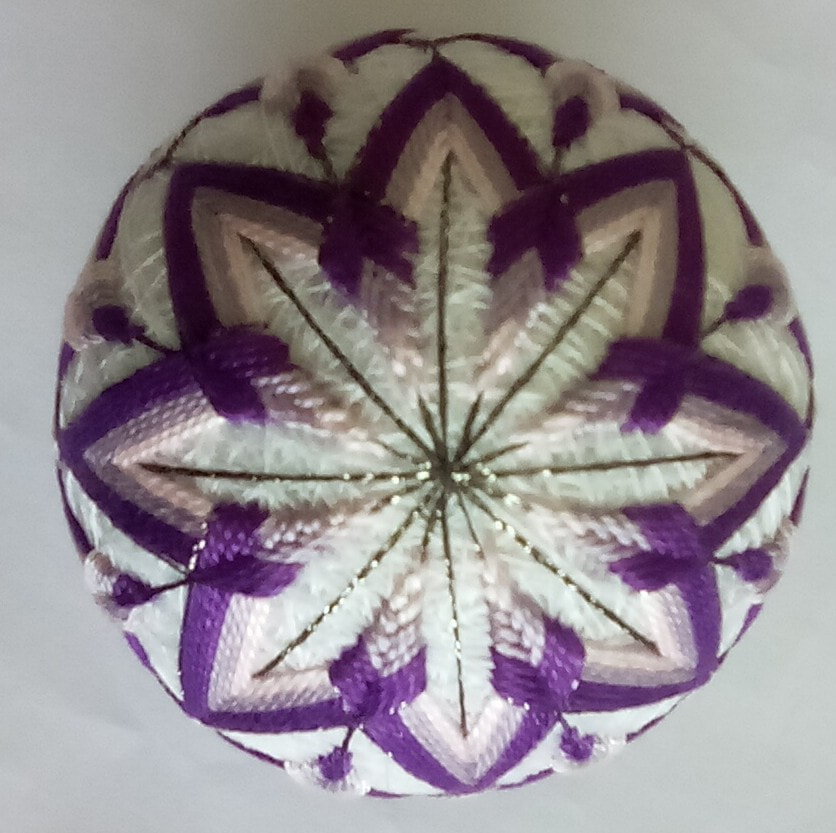
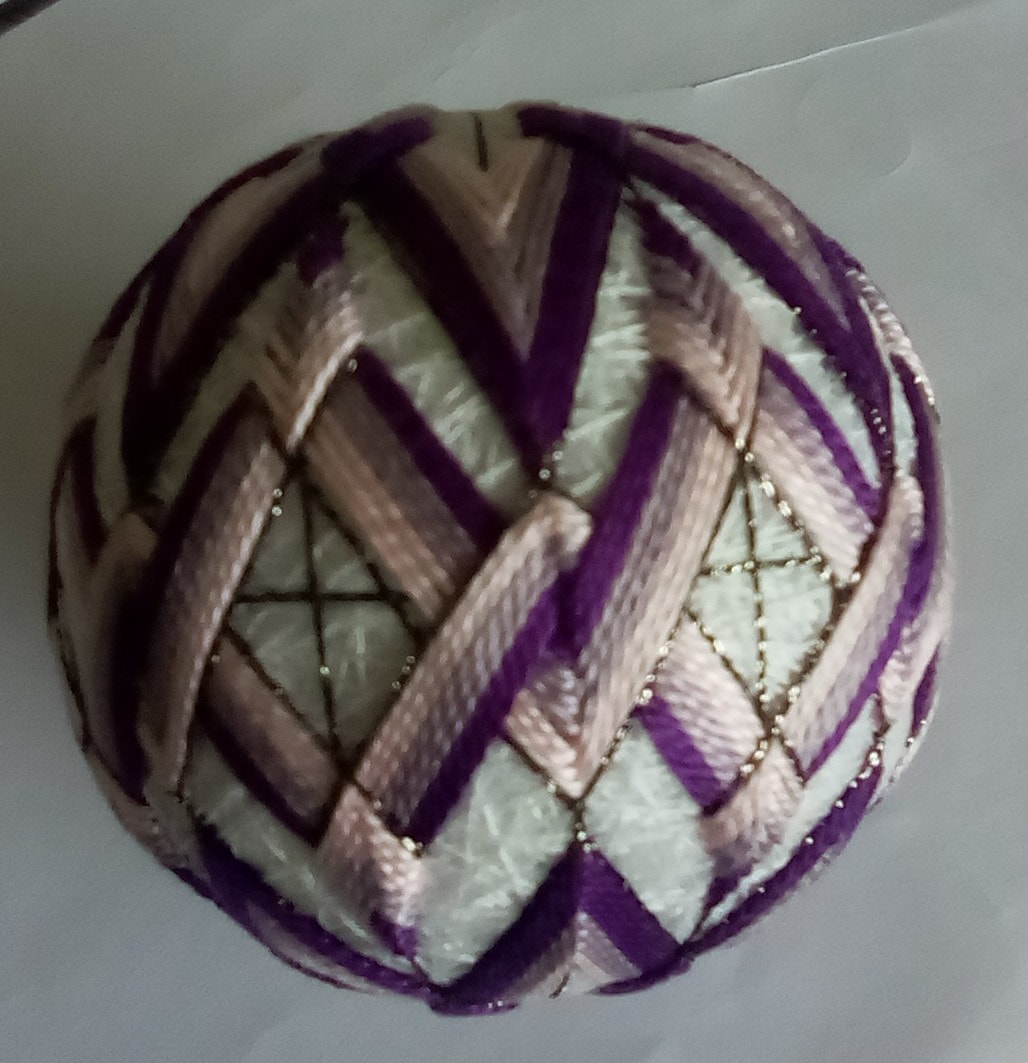
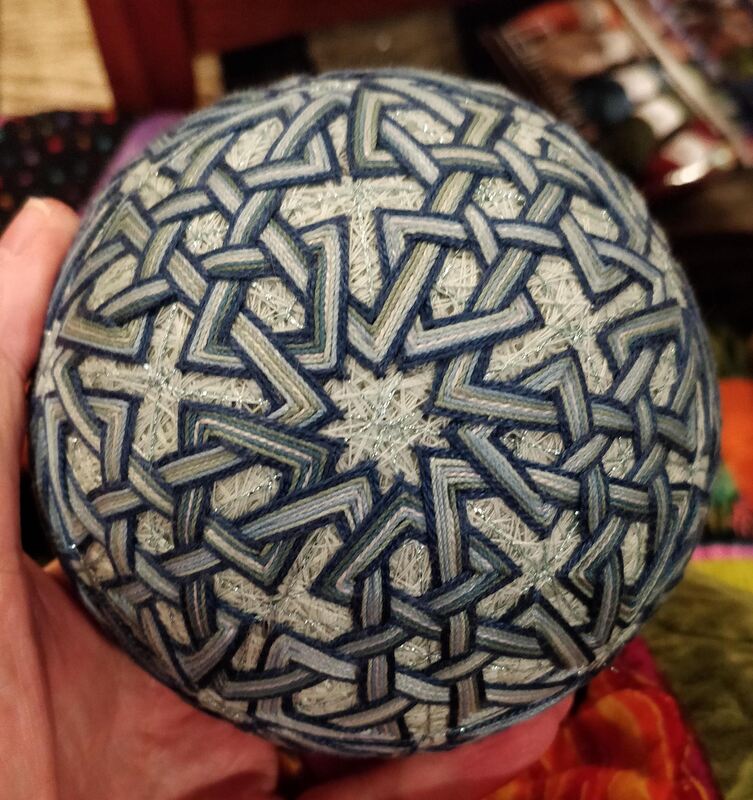
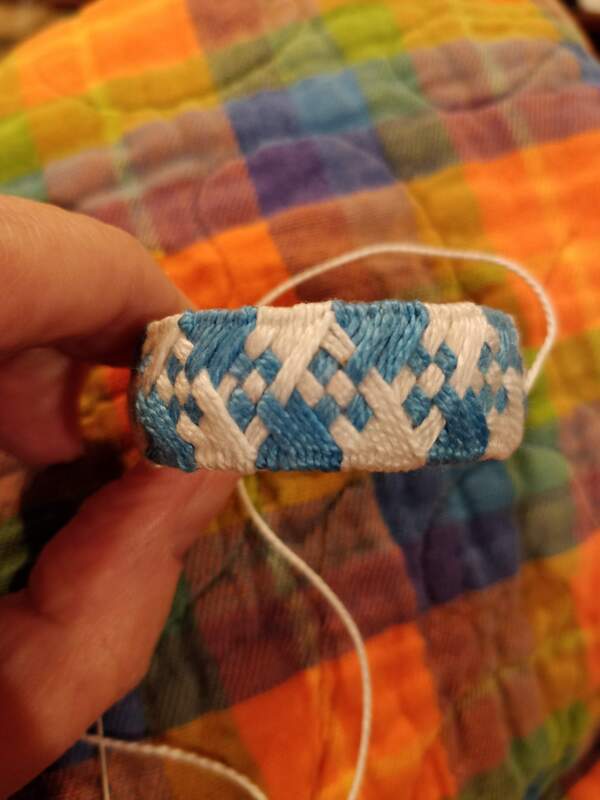
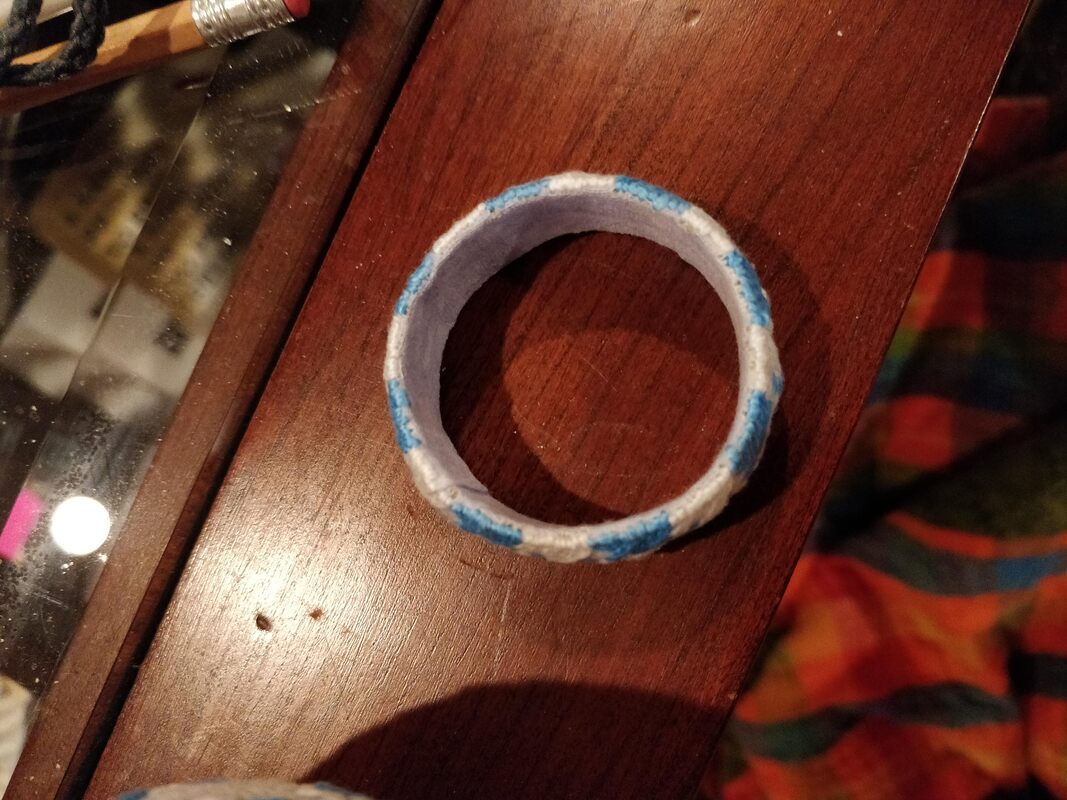
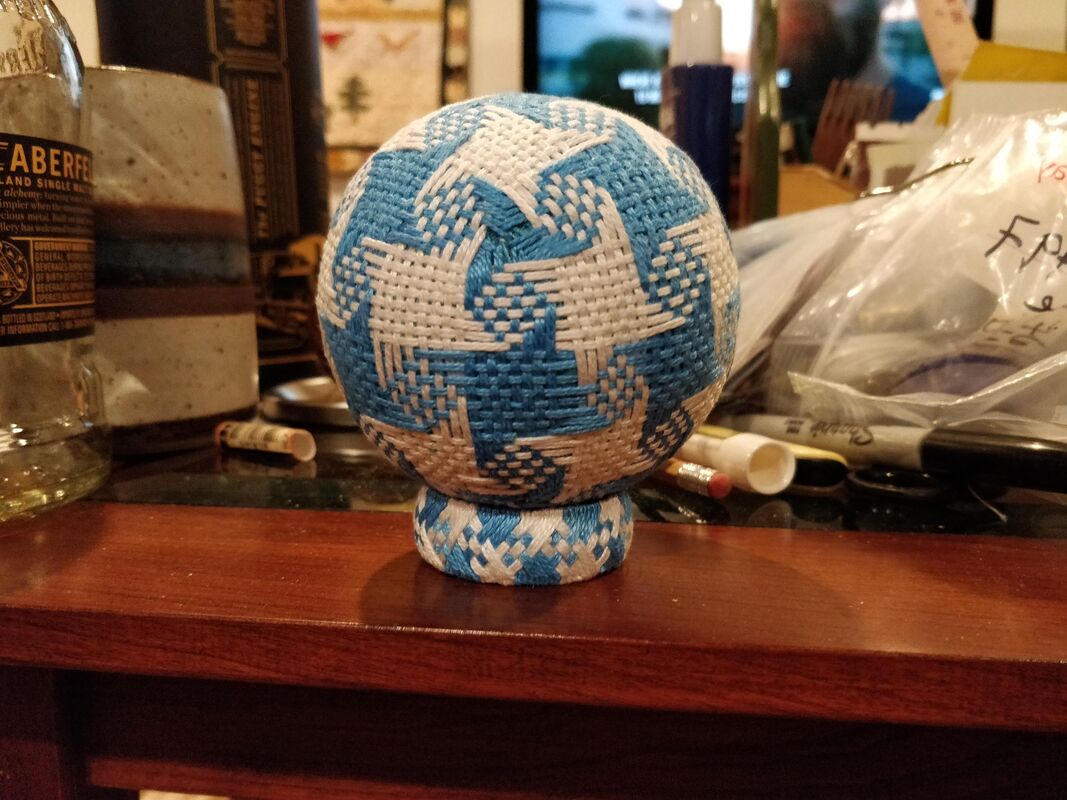
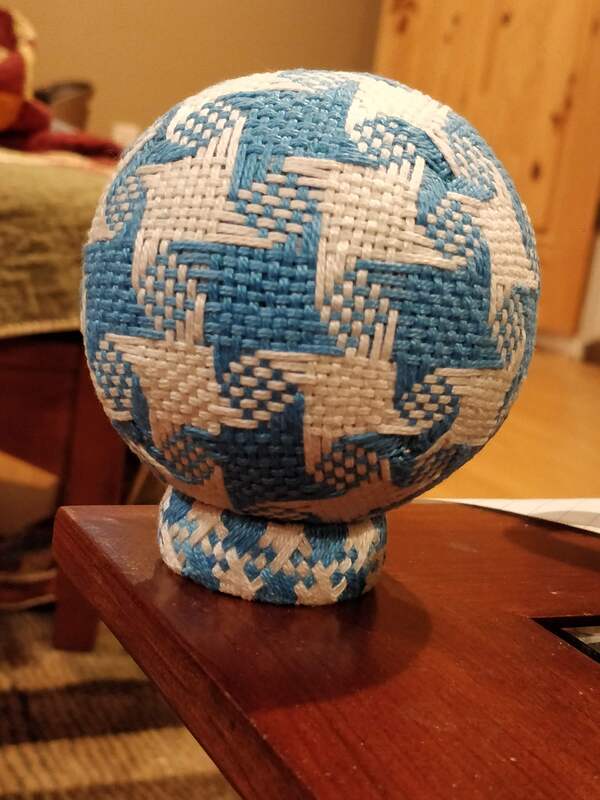
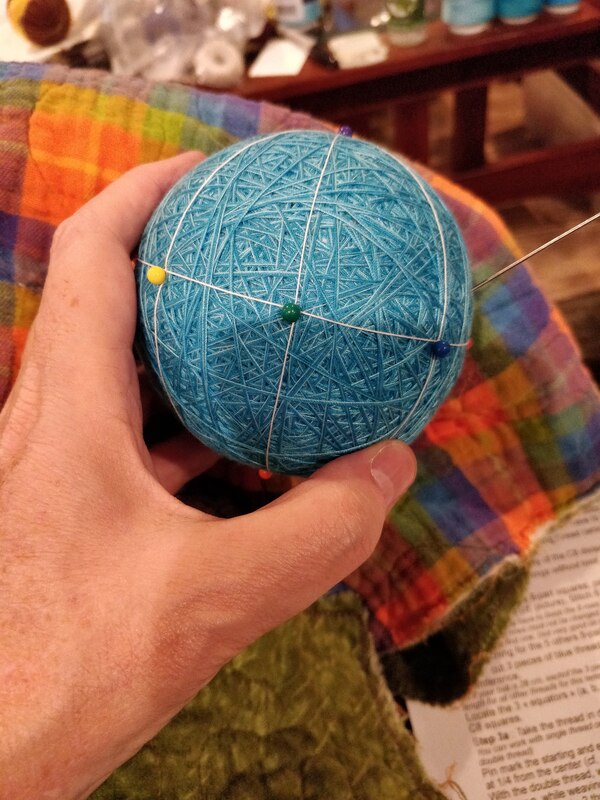
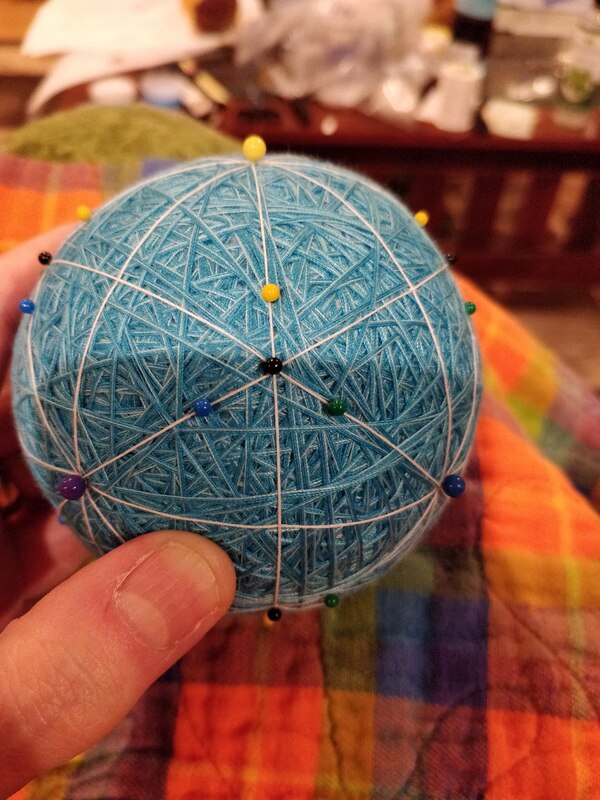
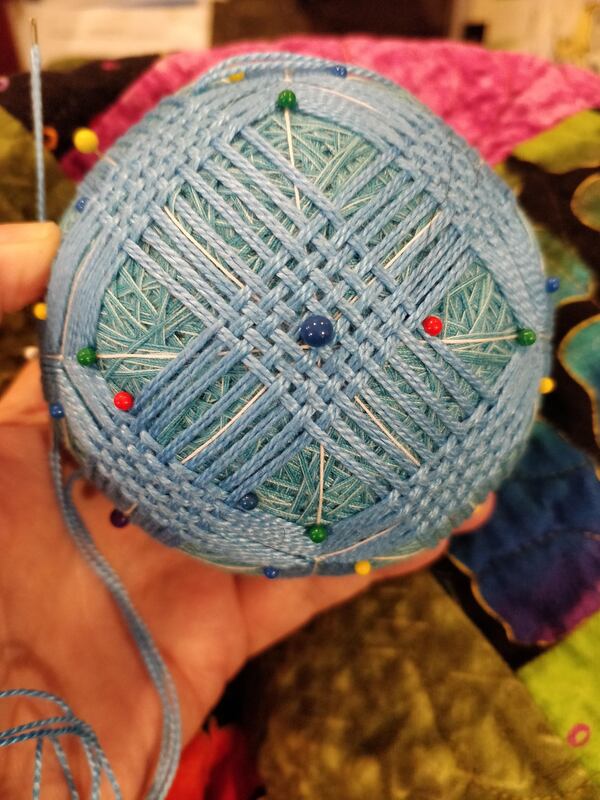
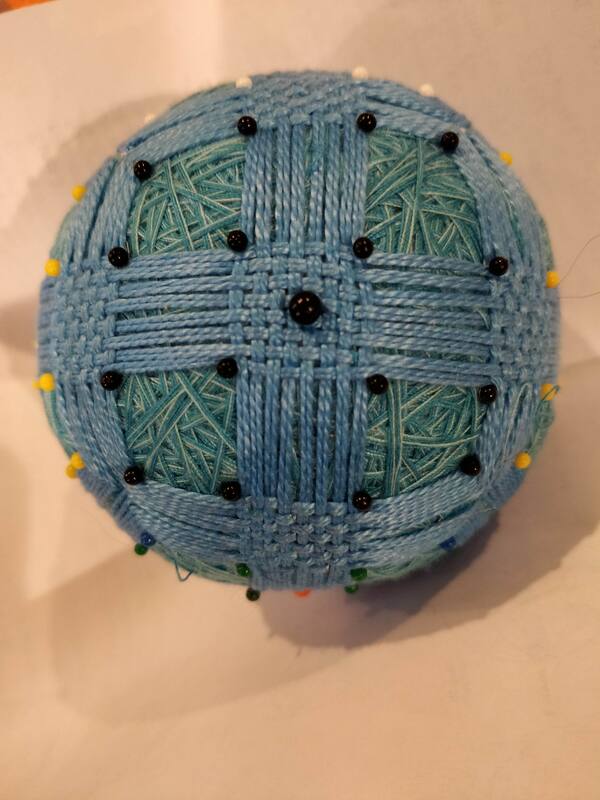
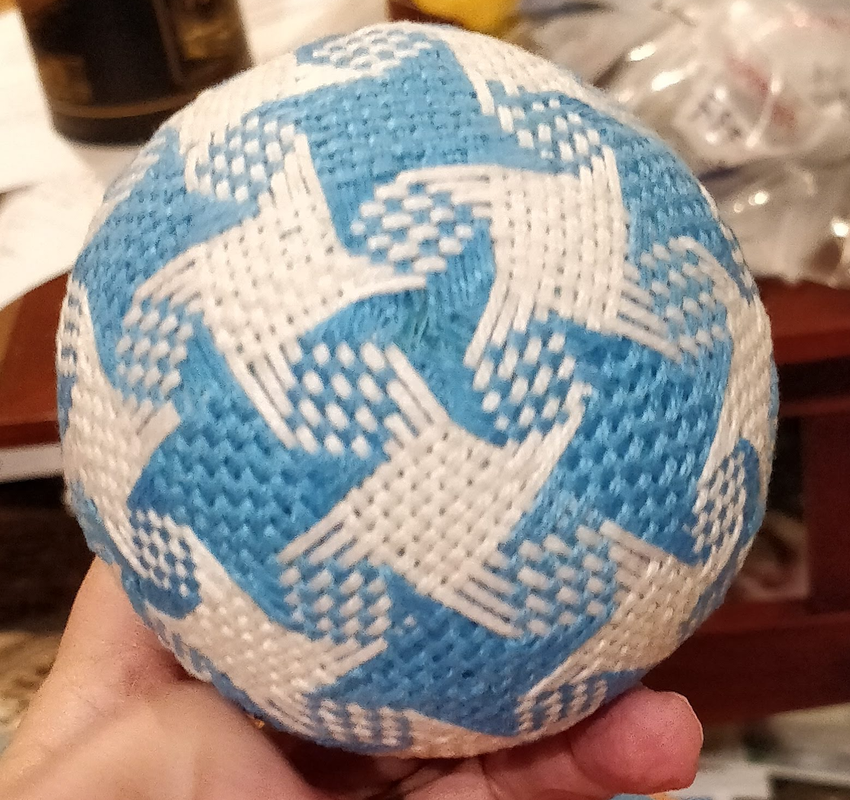
In the Temari Facebook group I belong to Nicola posted pictures of a Temari she designed and would teach it in an online workshop; the design being a swirl of Peacock feathers. I signed up and then selected my colors and wound 2 mari in preparation.
The workshop started around 1 pm London Time (Nicoloa lives in the UK) which was 7am here in Texas. I woke up early (630 am) to get the computer ready and attached via the HDMI cable to the large TV in family room, I made a large coffee and put in my thermos mug and grabbed a quick bite. I was the only participant from the USA and there were 5 other students from England and Scotland.
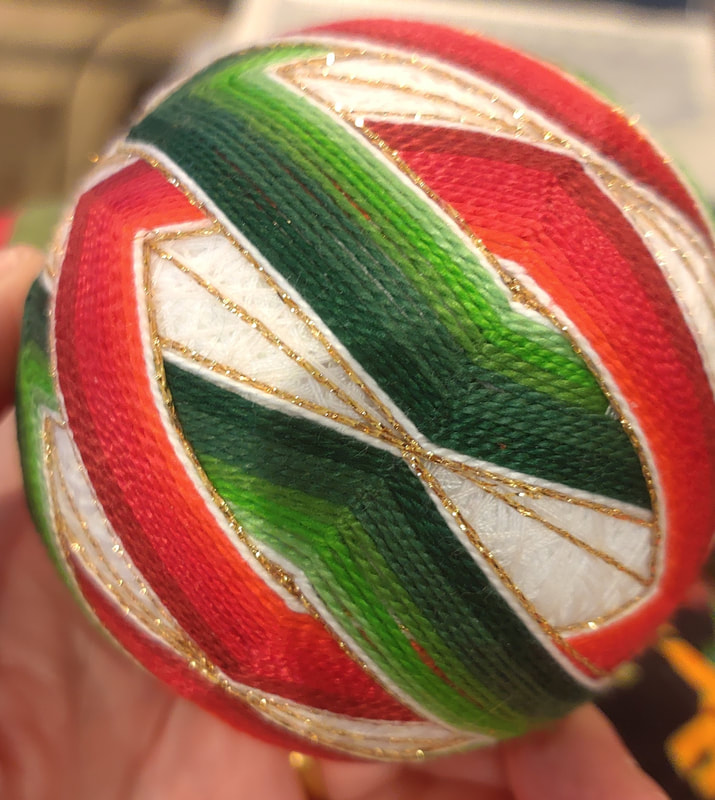
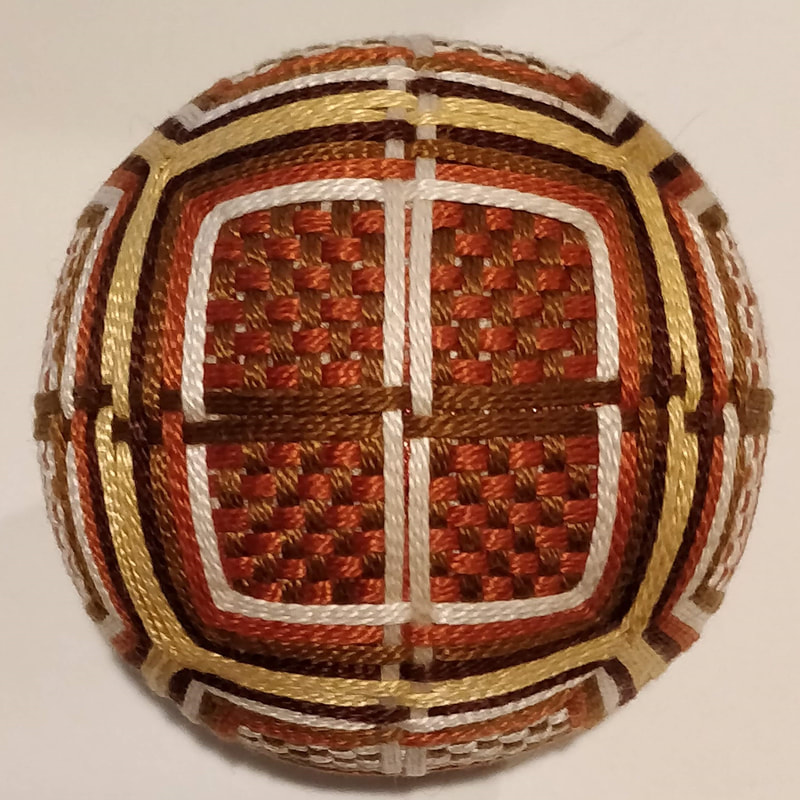
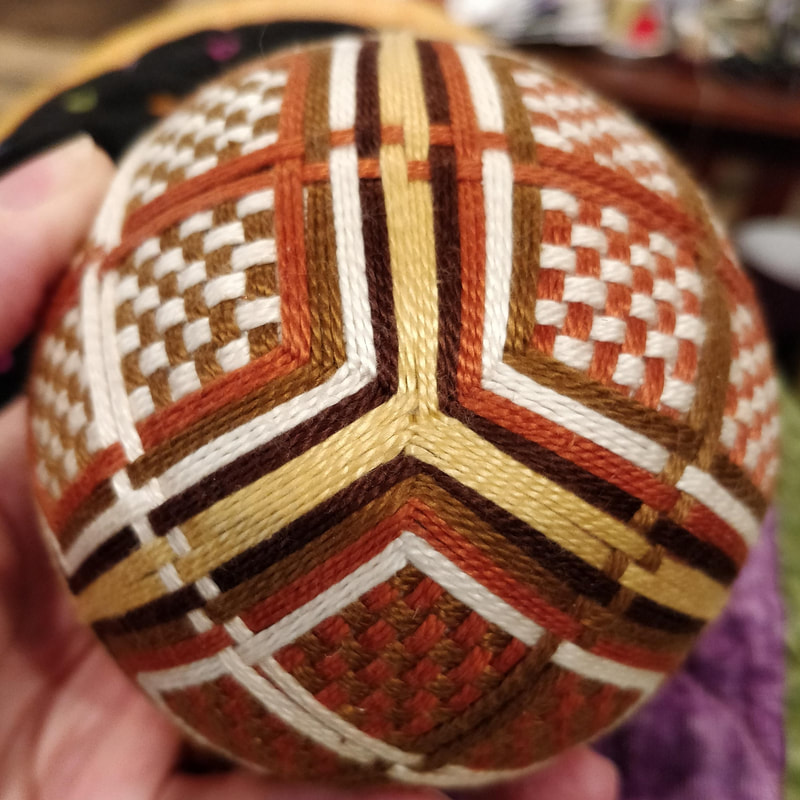
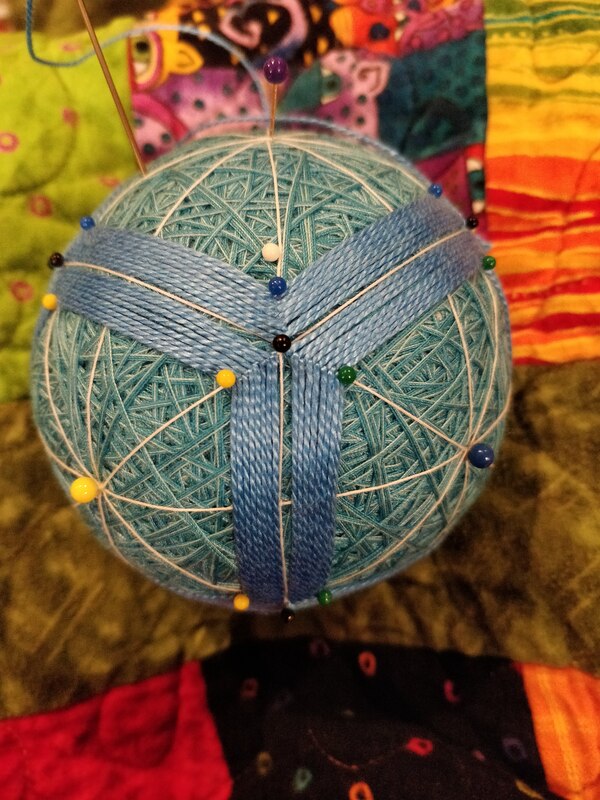
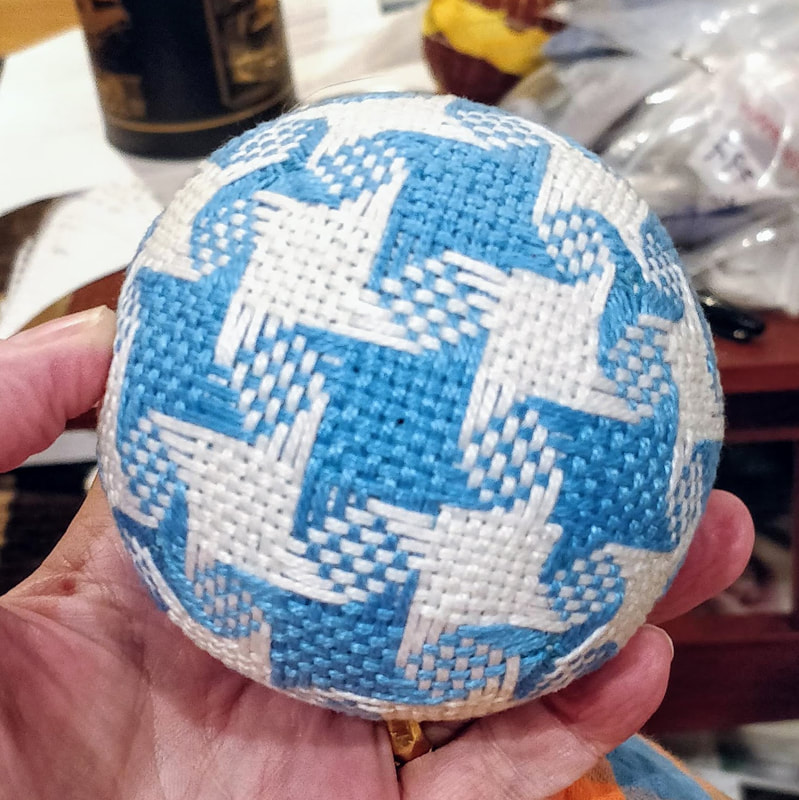
The workshop lasted 4 hours which was more than enough time to complete 1 of the 6 feathers as well as talking about other temari things - I shared information on Rainbow Gallery threads which I use when I need a metallic, which everyone else were not familiar with.
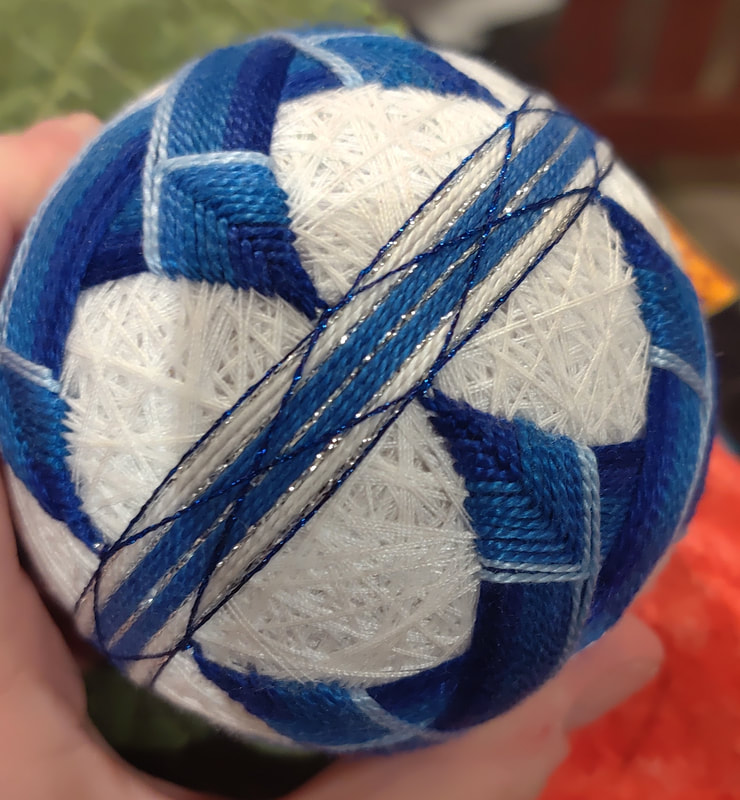
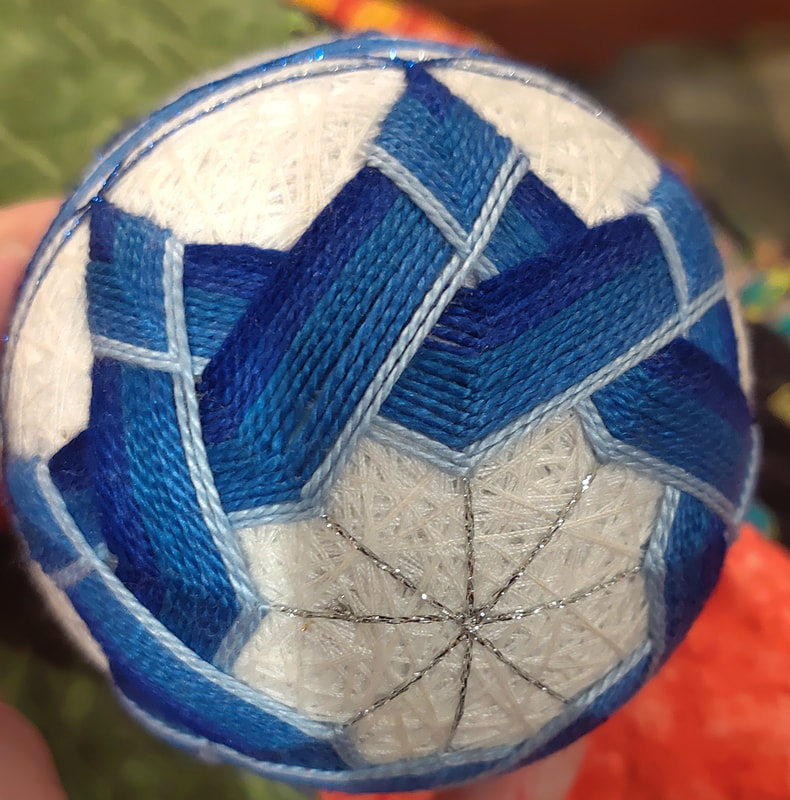
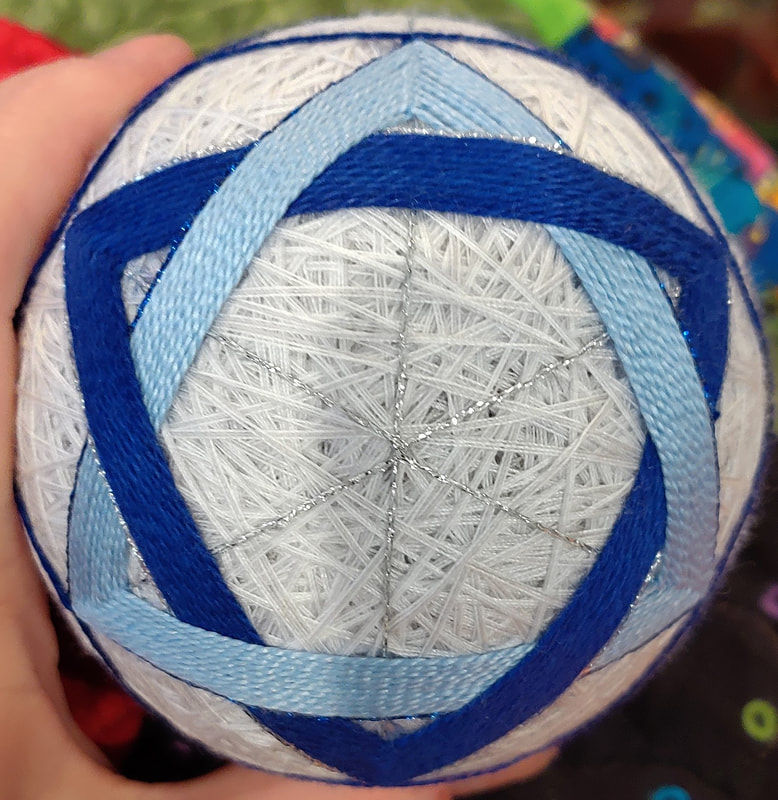
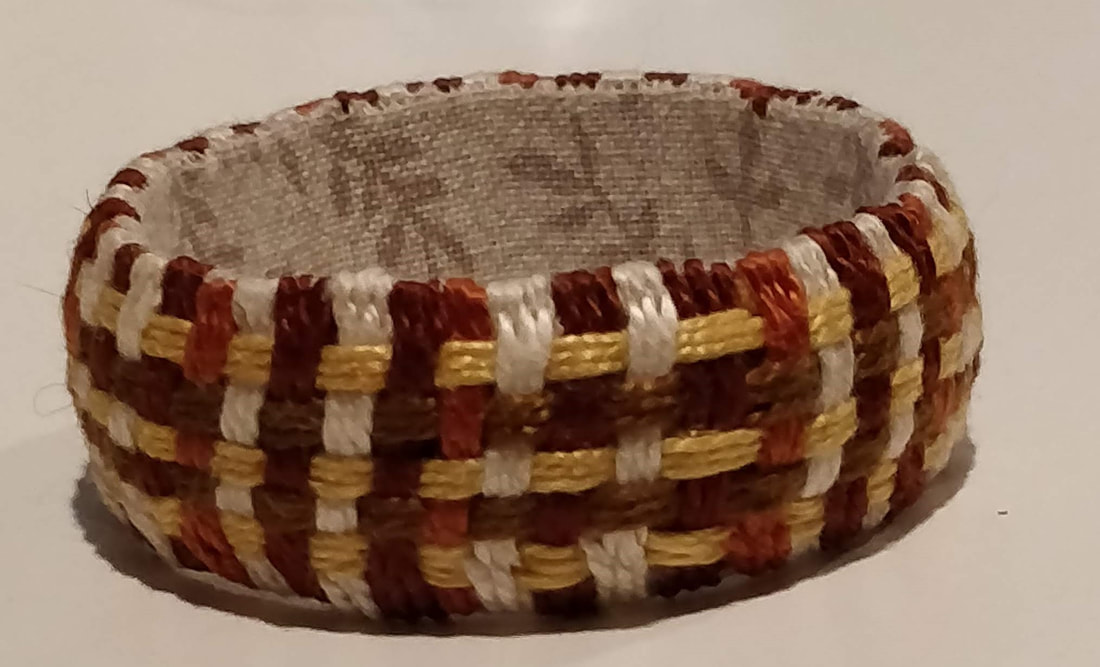
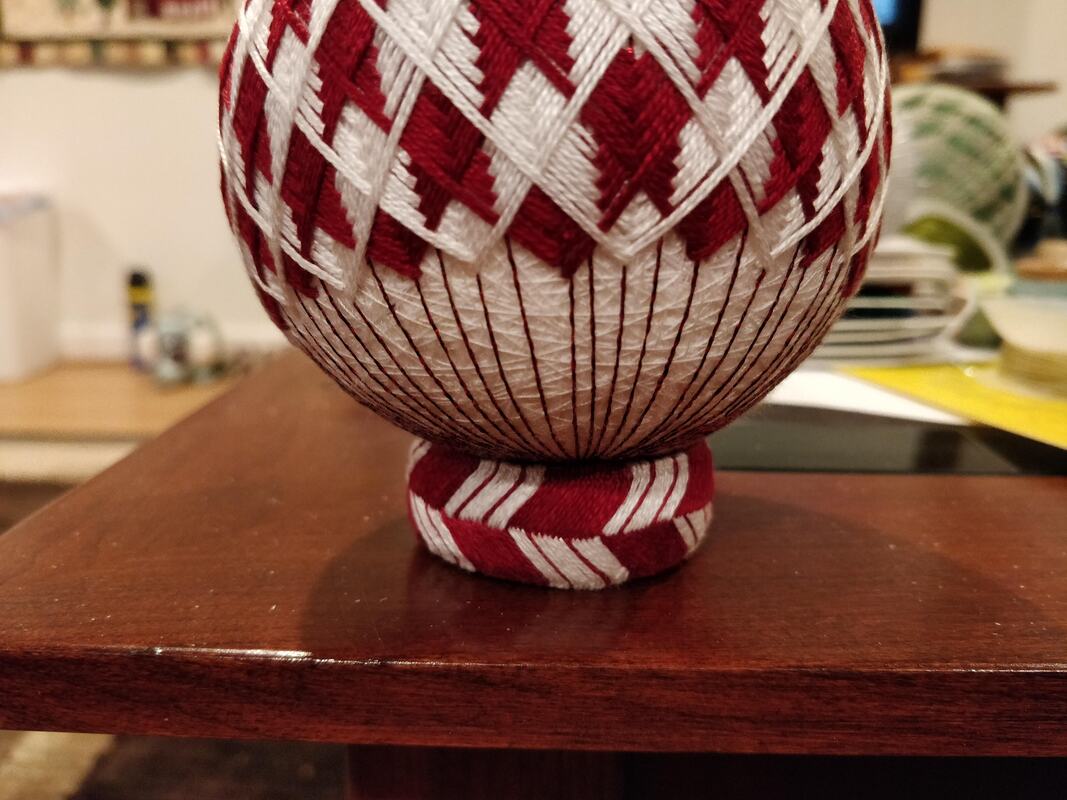
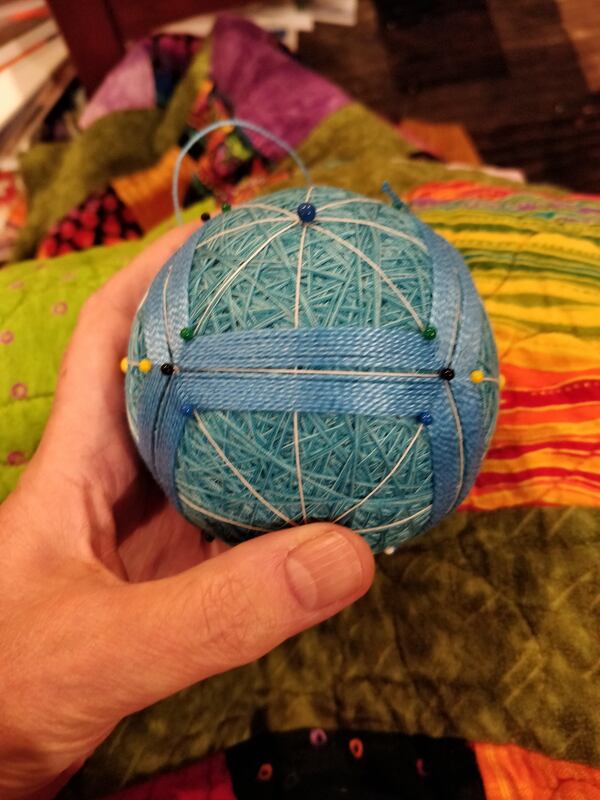
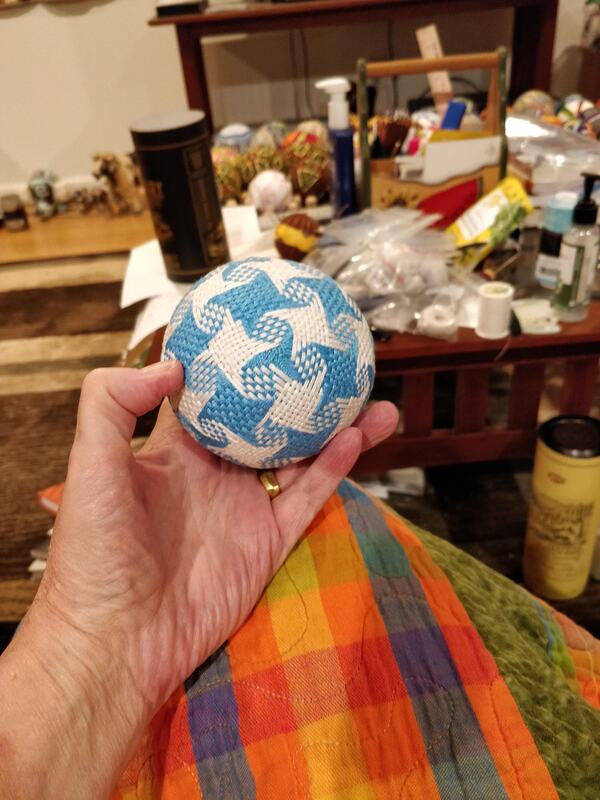
I finished the small temari during the next week and the following two weeks I worked on the larger temari, in the evening, while watching movies.
In the Temari Facebook group I belong to Nicola posted pictures of a Temari she designed and would teach it in an online workshop; the design being a swirl of Peacock feathers. I signed up and then selected my colors and wound 2 mari in preparation.
The workshop started around 1 pm London Time (Nicoloa lives in the UK) which was 7am here in Texas. I woke up early (630 am) to get the computer ready and attached via the HDMI cable to the large TV in family room, I made a large coffee and put in my thermos mug and grabbed a quick bite. I was the only participant from the USA and there were 5 other students from England and Scotland.
The workshop lasted 4 hours which was more than enough time to complete 1 of the 6 feathers as well as talking about other temari things - I shared information on Rainbow Gallery threads which I use when I need a metallic, which everyone else were not familiar with.
I finished the small temari during the next week and the following two weeks I worked on the larger temari, in the evening, while watching movies.


 RSS Feed