Yubinuki is another Japanese textile art form I have just learned and I have been fascinated with for a while. Last month, I fell down the rabbit hole and bought books from Japan, some supplies based upon what I had read and seen online and started to learn about how to make them since I find the designs wonderful and the technique can also be applied to the obi of a temari.
So what is Yubinuki?
The word translates to thimble ring.
What does that mean?
In most western countries, a thimble is either metal or leather and it is worn on the end of a finger and it is used to push the sewing needle through the item being sewn. In Japan, they wear the thimble ring, worn usually on the middle finger, just above the knuckle, to push the needle.
Plus, as with common with traditional crafts in Japan, this has grown into an art form; people wear them as rings or just make and collect them for the colors and designs.
To be honest, I am not going to go into the details of the history of them as there are lots of posts out on the web about it so I am providing a link to one that has a good explanation. This is a link to a website that is a bit old, but it is in English and there are several posts on how to make a core and more; just reading all the blog posts is very informative.
What you will see in this and future posts are yubinuki that I make including in-process photos and my thoughts on the materials I find and use to make them.
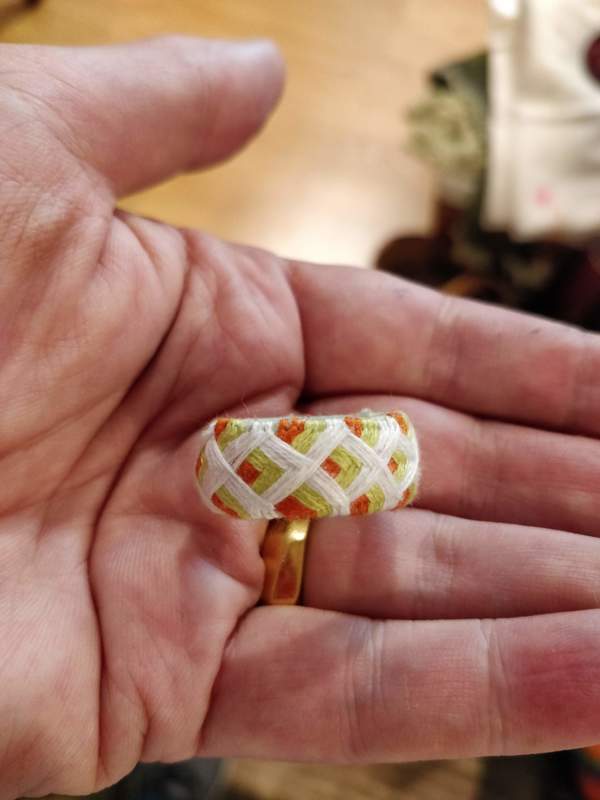
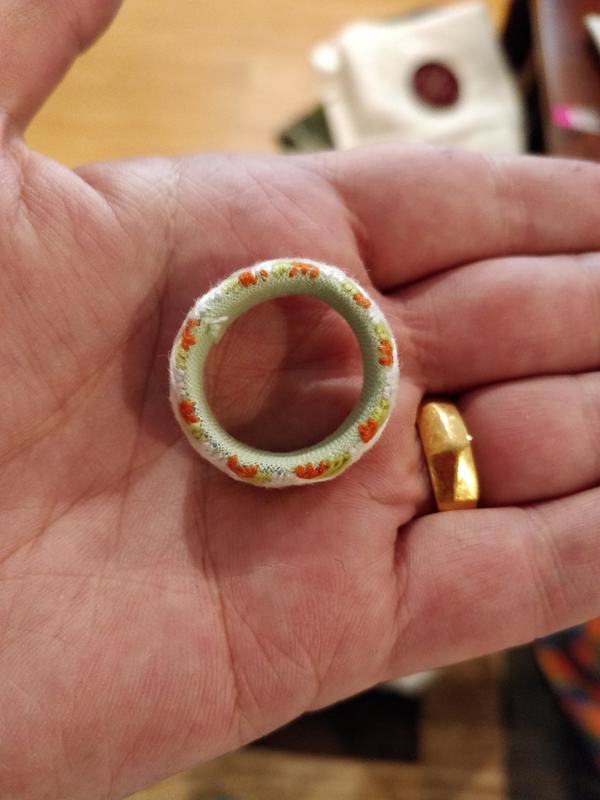
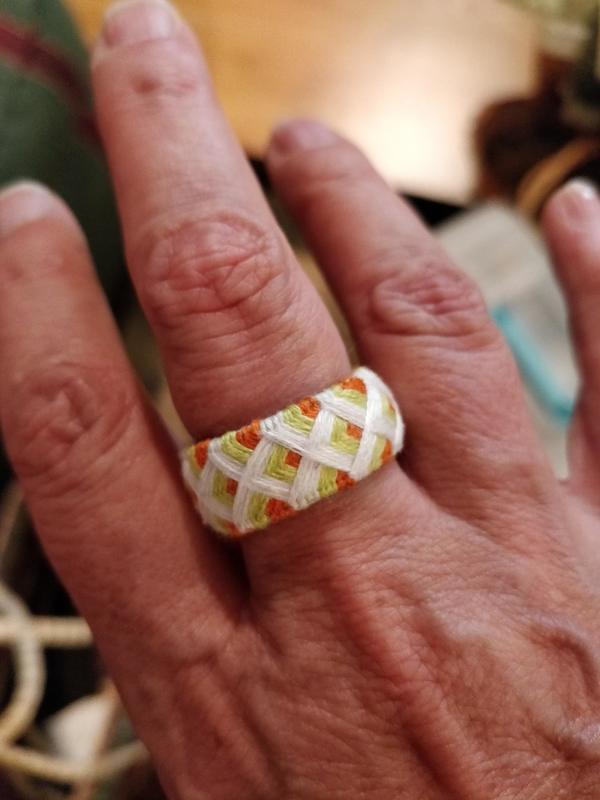
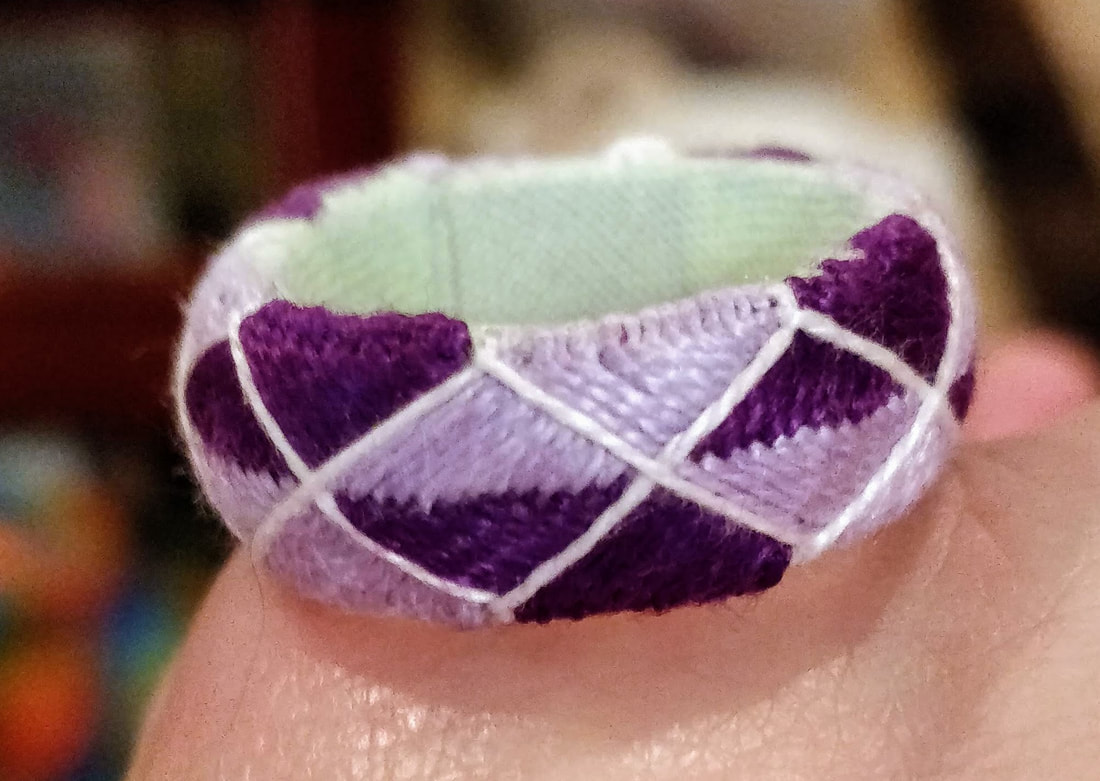
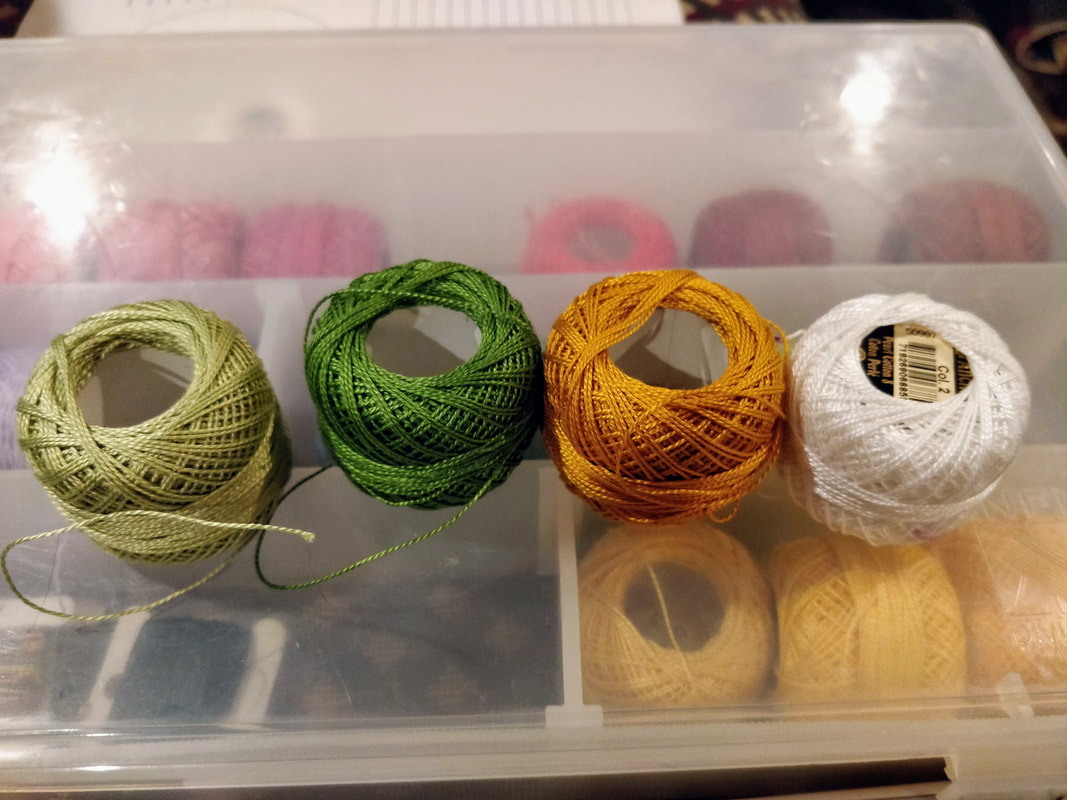
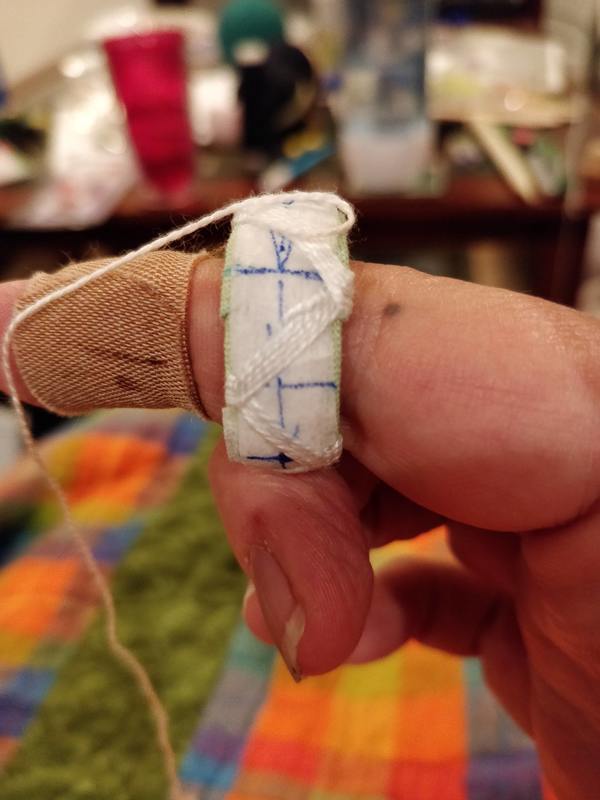
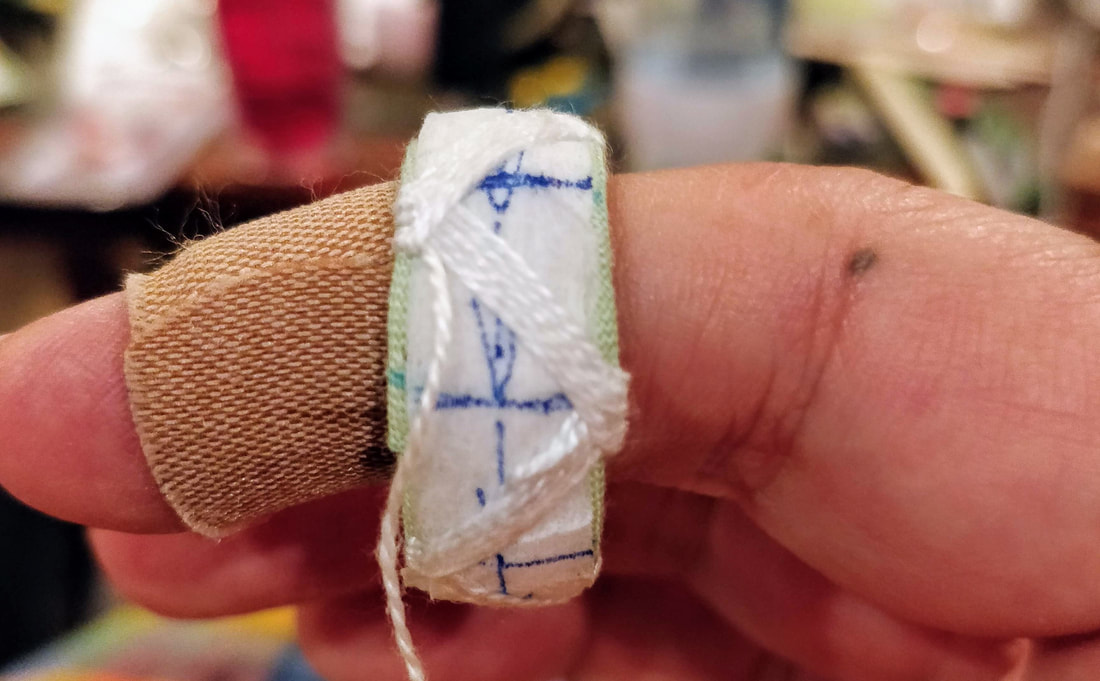
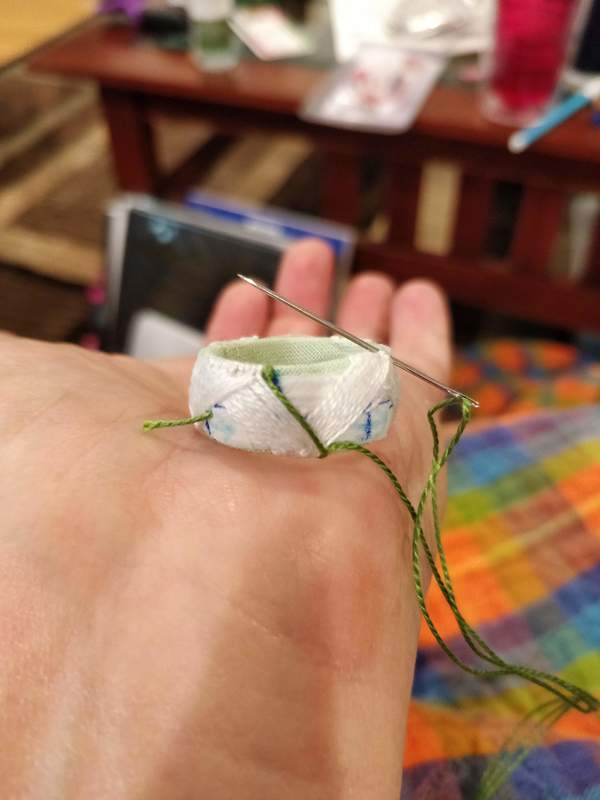
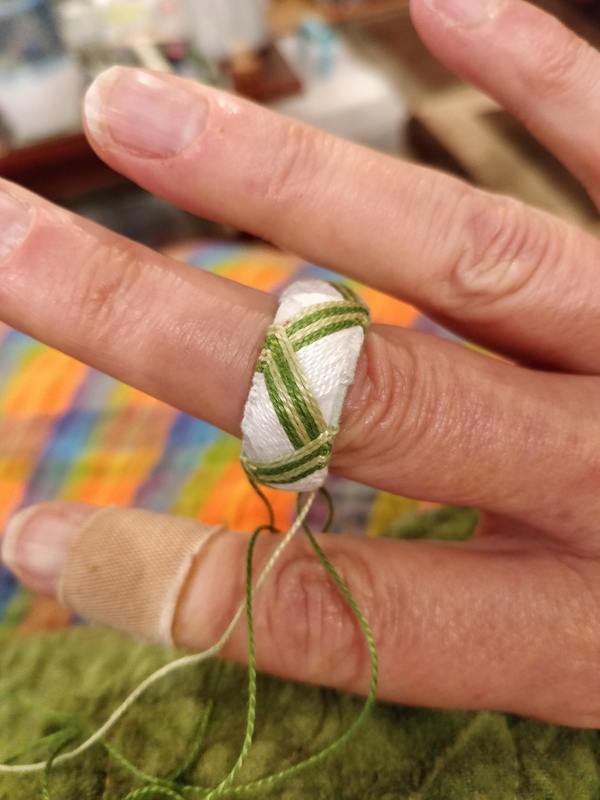
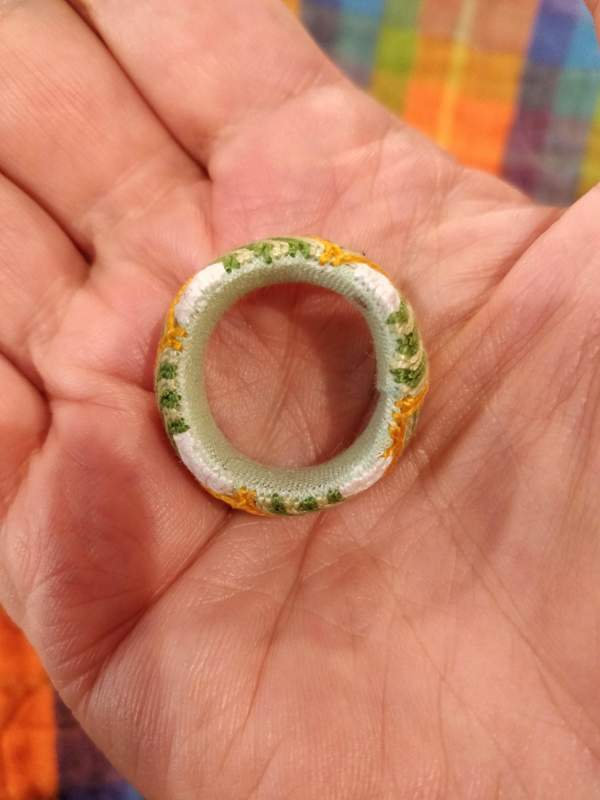
Here are images of my first three. I made the first one using a card stock core, bias tape, interfacing, 6 strand cotton floss for the wadding and 3 strands of cotton floss for the stitching. Since making that first one another temari artist has been giving me advice on how to make them and what types of threads to use. After trading many emails, I made the purple one and then the white/green/brown one.
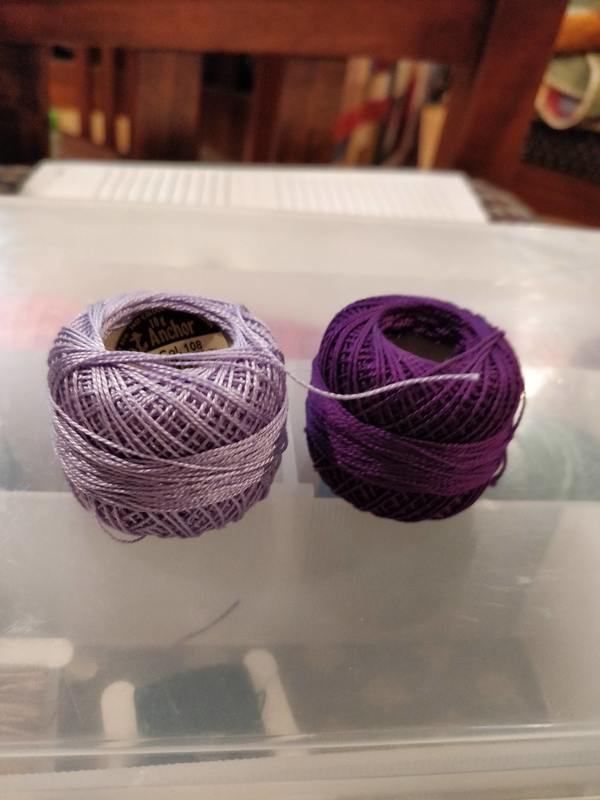
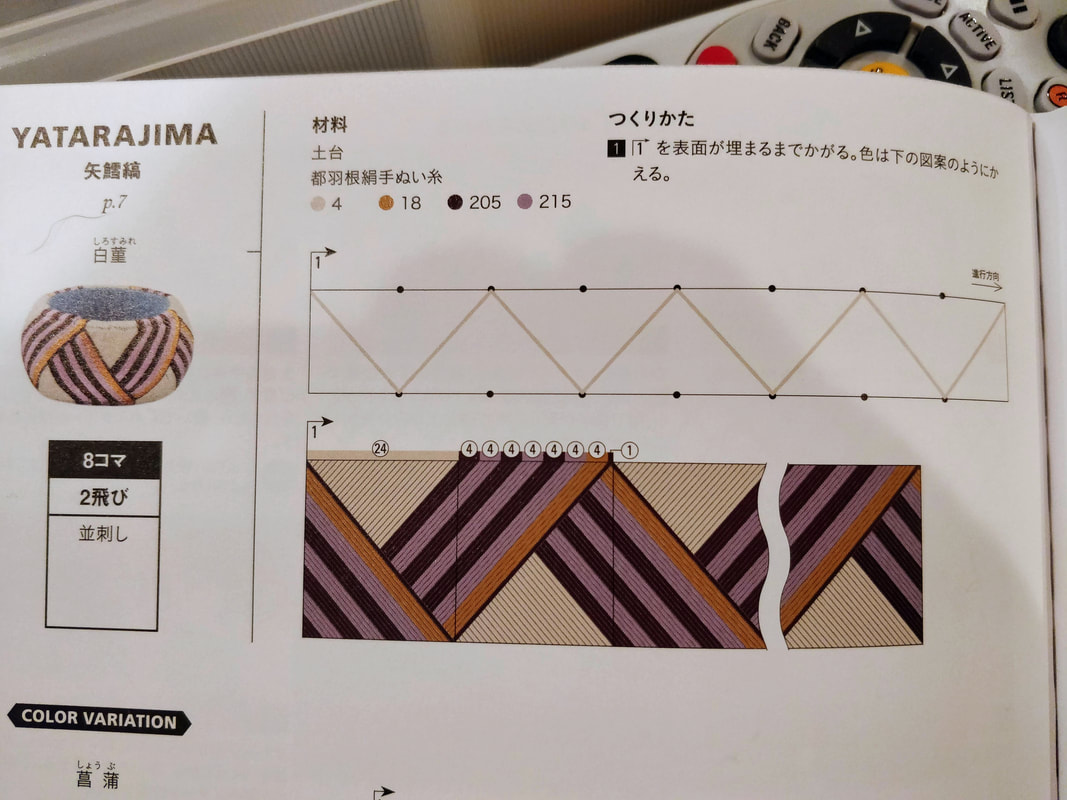
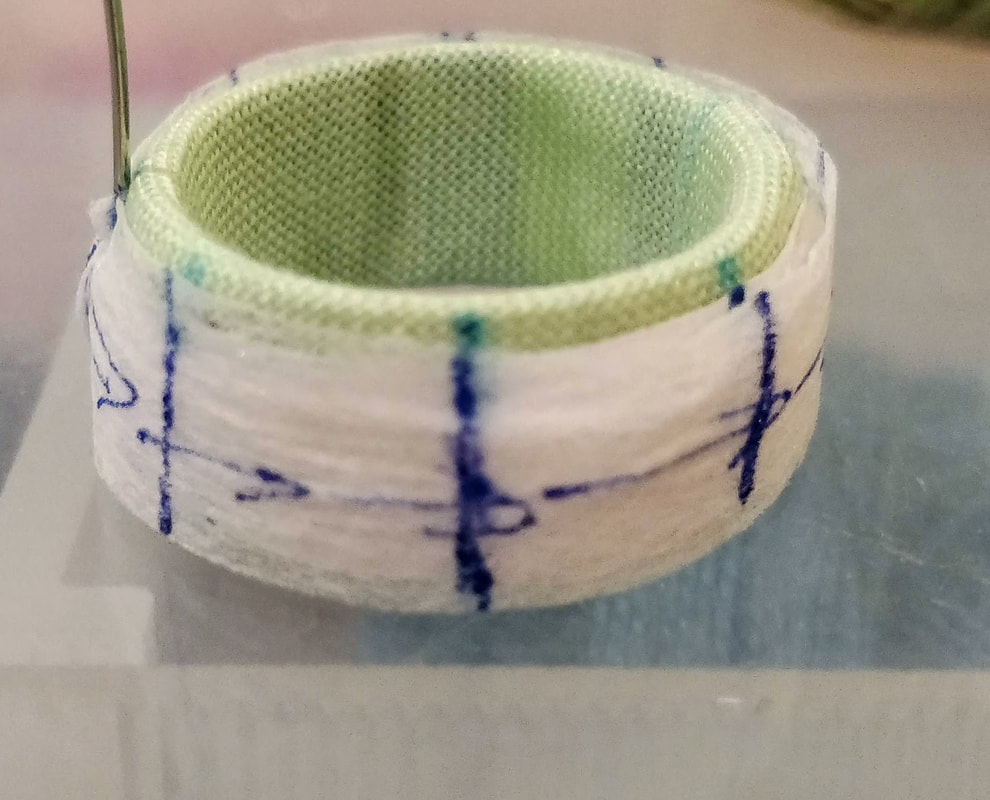
The third one is based upon a design that was in one of the books from Japan. That design had 24 stitches (and rounds) of the white in the first division. Not having the silk thread that is also thinner than the size 8 perle cotton I was using, I decided to do the math! I found it only took 12 stitches in the perle to fill the division on the core I had made thus I would only need 2 stitches for each of the other bands where the pattern had indicated 4; and it worked out perfectly!
Have fun looking at the pictures below, and watch out for this rabbit hole!
So what is Yubinuki?
The word translates to thimble ring.
What does that mean?
In most western countries, a thimble is either metal or leather and it is worn on the end of a finger and it is used to push the sewing needle through the item being sewn. In Japan, they wear the thimble ring, worn usually on the middle finger, just above the knuckle, to push the needle.
Plus, as with common with traditional crafts in Japan, this has grown into an art form; people wear them as rings or just make and collect them for the colors and designs.
To be honest, I am not going to go into the details of the history of them as there are lots of posts out on the web about it so I am providing a link to one that has a good explanation. This is a link to a website that is a bit old, but it is in English and there are several posts on how to make a core and more; just reading all the blog posts is very informative.
What you will see in this and future posts are yubinuki that I make including in-process photos and my thoughts on the materials I find and use to make them.
Here are images of my first three. I made the first one using a card stock core, bias tape, interfacing, 6 strand cotton floss for the wadding and 3 strands of cotton floss for the stitching. Since making that first one another temari artist has been giving me advice on how to make them and what types of threads to use. After trading many emails, I made the purple one and then the white/green/brown one.
The third one is based upon a design that was in one of the books from Japan. That design had 24 stitches (and rounds) of the white in the first division. Not having the silk thread that is also thinner than the size 8 perle cotton I was using, I decided to do the math! I found it only took 12 stitches in the perle to fill the division on the core I had made thus I would only need 2 stitches for each of the other bands where the pattern had indicated 4; and it worked out perfectly!
Have fun looking at the pictures below, and watch out for this rabbit hole!


 RSS Feed